


Welcome! 👋 In this guide, we will explore how to create an AI agent app on Polygon. By the end, you will:
- Have a web app where users can launch their own secure AI agent
- Create non-custodial smart wallets for each agent
- Deploy agents to a TEE (Trusted Execution Environment) for secure key management
- Have the ability to connect these agents to any agent framework, any blockchain (EVM, Solana and more) and over 250+ onchain actions (using GOAT SDK)
Implementing a wallet architecture that maximizes security, autonomy, compliance and ease of use is critical for building an AI agent app, like a launchpad for agentic finance. We will be using a dual key architecture for our Polygon AI agents app example which creates 1 Smart Contract Wallet (or account abstraction wallet) and 2 keys: 1 for the owner and one for the agent that lives in a TEE.
For the Smart Contract Wallets, we will be using Crossmint Agent Wallets. They are fully non-custodial which means:
- Crossmint never has access to your agents' wallets
- Launchpads never have access to their agents' wallets
- Keys stay completely private
- Agent platforms cannot be considered to control the wallet
For any assistance on getting your app up and running or Crossmint Agent Wallets, contact our support team on Discord or reach out here!
Prerequisites
- Install pnpm as package manager
- Install OrbStack for local container management
- Launch the Orbstack app on your computer and select "Docker" from the OrbStack setup menu
- Create a developer project in Crossmint Staging console and production
Setting up a Local Environment
- Obtain free API Keys from the Staging environment of Crossmint Console. You'll need both a server-side and client-side API Key. Refer to these instructions to Get a server-side API Key and a client-side one.
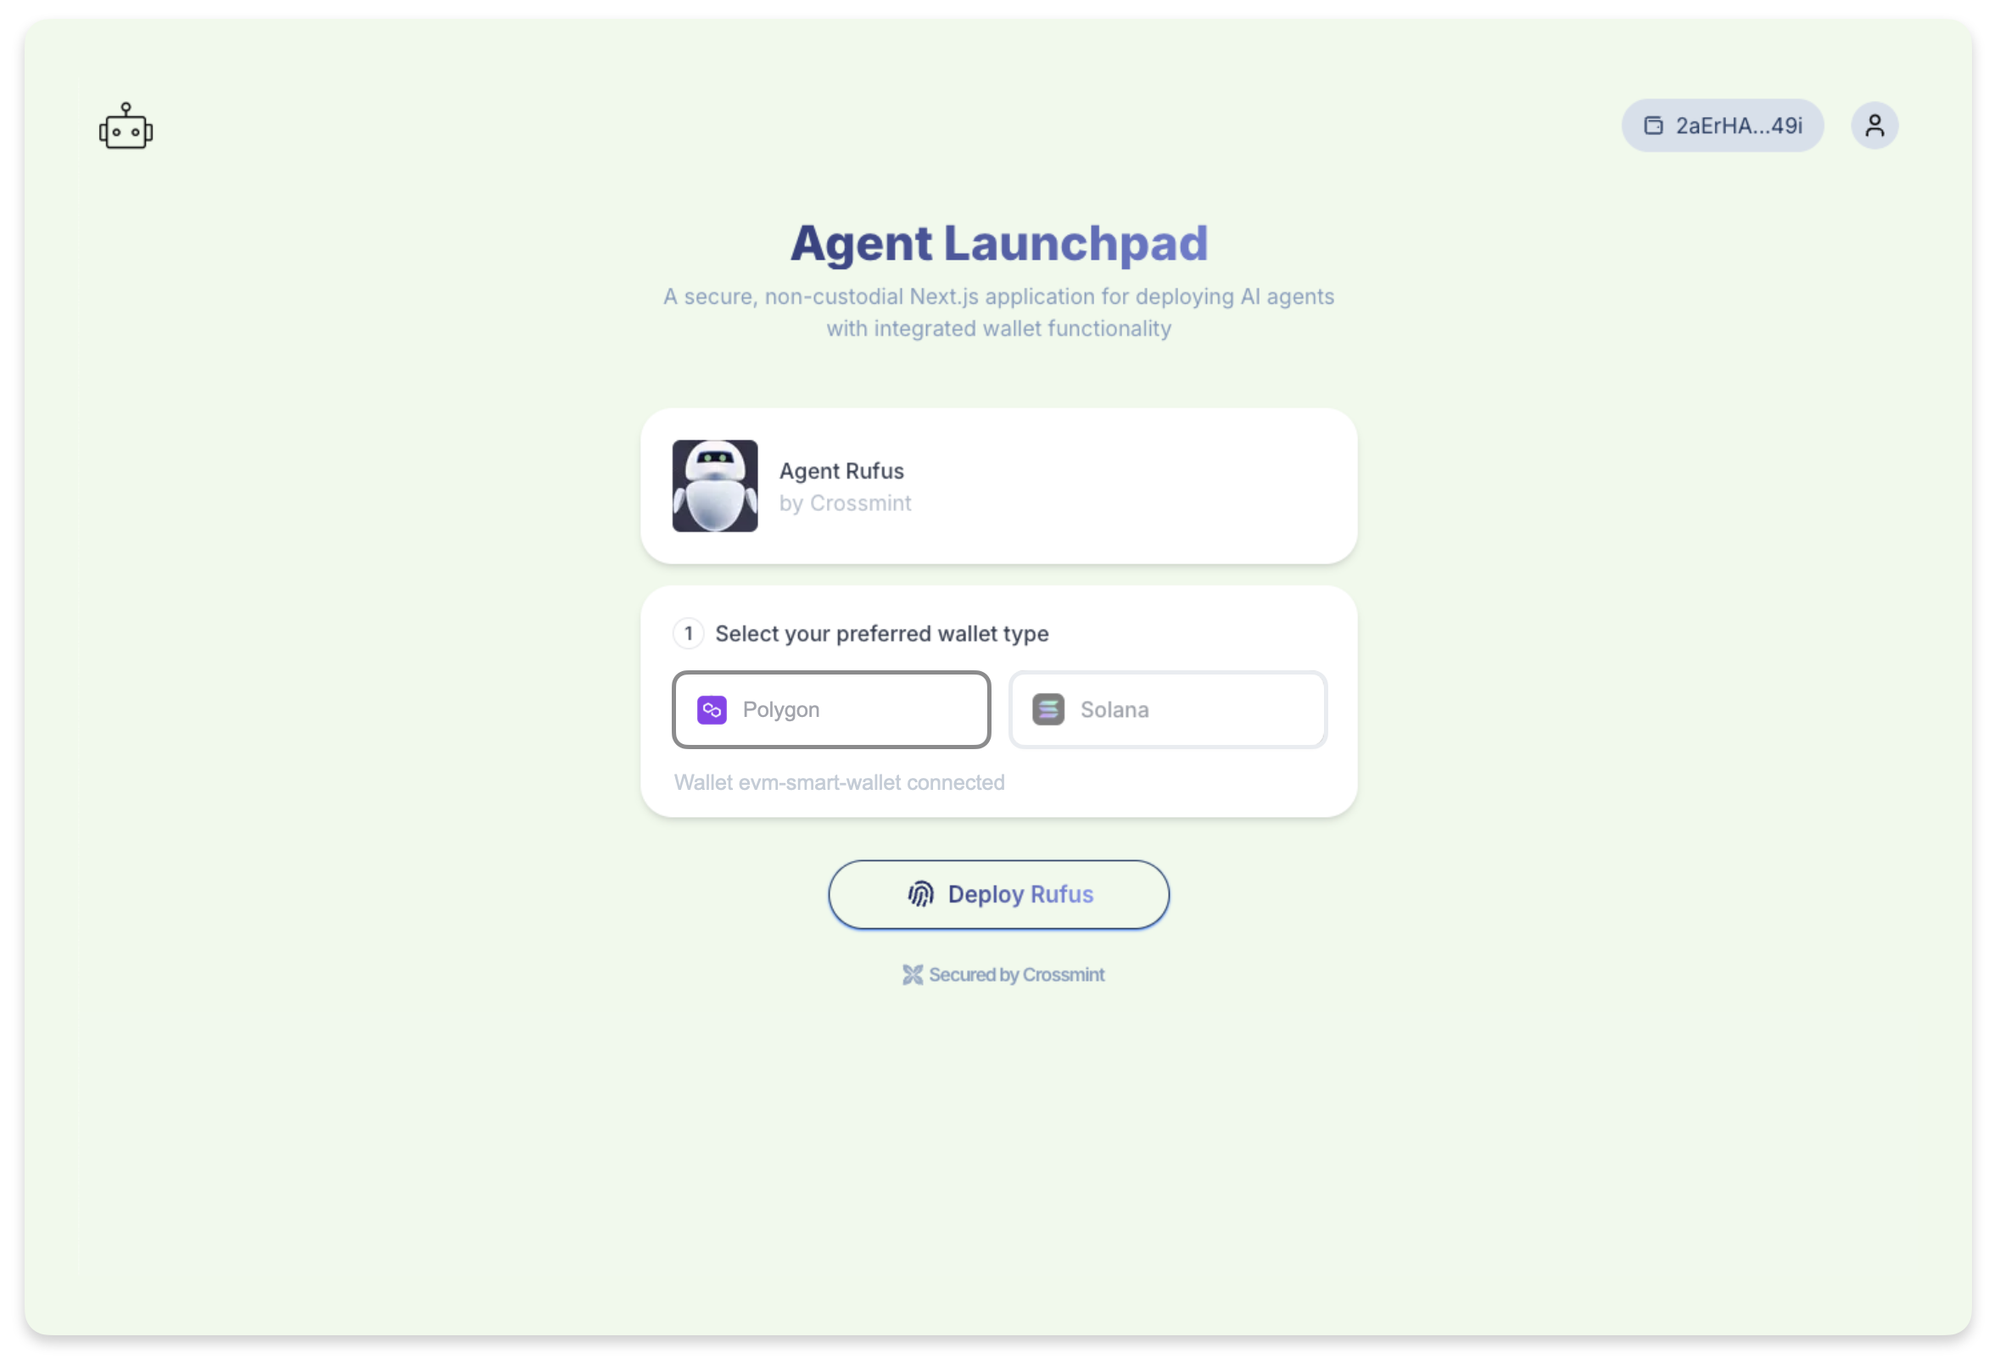
- Ensure the Wallet Type is set to Smart wallet under Settings > General
- Ensure API keys have the required scopes:
- Server-side: All 'wallet API' scopes
- Client-side: All 'wallet API' and 'users' scopes. Whitelist http://localhost:3001 as an origin and check the "JWT Auth" box
- Set up the web app in your terminal:
git clone https://github.com/Crossmint/agent-launchpad-starter-kit.git
cd agent-launchpad-starter-kit
cd launchpad-starter-next-app
pnpm install
cp .env.example .env
The default implementation uses Crossmint's Smart Wallets for Polygon, which requires setting the ALCHEMY_API_KEY environment variable. This API key is used to connect to Polygon and sign transactions on behalf of the Polygon Smart Wallet.
To generate an API key for signing Polygon Smart Wallet transactions, create an account on Alchemy, create a new project and copy the API key.
Set the ALCHEMY_API_KEY environment variable in your .env file:
ALCHEMY_API_KEY=your_api_keyWhile in the .env file, set the NEXT_PUBLIC_PREFERRED_CHAIN environment variable to polygon-amoy:
NEXT_PUBLIC_PREFERRED_CHAIN=polygon-amoy- We’ll use polygon-amoy to test our AI agent launchpad. When we push this to production, you will need to update polygon-amoy to polygon.
Then, start the web app:
pnpm devThe Next.js app will be available at http://localhost:3001
- Set your agents up in TEEs by opening a new terminal in the project root folder and running:
cd agent-tee-phala/image
pnpm install
Then, build the image code:
pnpm build- When running the Next.js app, the docker image will build and deploy in a simulated TEE environment. This simulated environment allows you to test your docker image code locally before deploying to production TEEs & Docker hub.
Deploying to Production
Building the Docker Image
In order to run the docker image within a TEE, we need to first build the image.
- From the root directory of this project, run the following command to build the Docker image. Use the --platform linux/amd64 flag to ensure the image is built for the correct architecture:
docker build --pull --rm -f 'agent-tee-phala/image/Dockerfile' --platform linux/amd64 -t '{your-image-name}:{version}' 'agent-tee-phala/image'Command Line Prompt
docker build --pull --rm -f 'agent-tee-phala/image/Dockerfile' --platform linux/amd64 -t 'agentlaunchpadstarterkit:latest' 'agent-tee-phala/image'Example
- Publish the image to Docker Hub. In the launchpad-starter-next-app/src/server/services/container.ts, there's an inline comment that explains how to update the docker image name and version. Go to line 47 to find the instructions.
- Voila! You now have an AI agent app with a dual key wallet architecture on Polygon 🥳
Production Deployment Checklists
API and .env Checklist
- Update NEXT_PUBLIC_PREFERRED_CHAIN from polygon-amoy to polygon in your .env file.
- Replace staging API keys with production keys from Crossmint Console
- Ensure API keys have the required scopes:
- Server-side: All 'wallet API' scopes
- Client-side: All 'wallet API' and 'users' scopes. Whitelist your web app url as an origin and check the "JWT Auth" box.
Security Checklist
- Verify and audit all code in your agent image folder to ensure it meets security standards
- Publish reproducible build code to an open source repository for transparency
- Implement client-side checks to prevent agent deployments to TEEs that cannot remotely attest they are running audited code versions
- Configure TEE to disallow code upgrades without explicit end user approval (feature coming soon to Phala and Marlin)
Deploy Agent to TEE (Phala Cloud)
- Create an account on Phala Cloud
- Create a new project and copy the API key
- Update the PHALA_CLOUD_API_KEY in your webapp's environment variables to add your Phala Cloud API key
- NOTE: adding the API key to the environment variables will automatically use production environments in Phala Cloud.
- To use local environments, you can just leave PHALA_CLOUD_API_KEY empty.
Deploy Webapp
- Deploy your Next.js application to your preferred hosting platform (Vercel, AWS, etc.)
- Set up environment variables in your hosting platform's dashboard
Testing
- Verify wallet creation flow works end-to-end
- Test agent deployment and communication
- Confirm authentication and authorization are working as expected
Next steps
Now that you have a launchpad up and running, you can use GOAT SDK to connect your agents to more than 200 onchain tools like Uniswap, Jupiter, Orca and many other DeFi protocols - significantly reducing the time it takes to launch.
GOAT SDK is the most downloaded (>100k downloads to date) library a for agents to interact with blockchain protocols and works with:
- Most popular AI agent frameworks like AI SDK, Langchain, Eliza, ZerePy, GAME by Virtuals, and ElevenLabs
- Chains including EVM (Base, Mode, Sei) as well as Solana, Aptos, Chromia, Fuel, Sui, Starknet, Zilliqa and more
- Other tools such as minting (OpenSea, MagicEden), betting (Polymarket) and analytics (CoinGecko, BirdEye, Allora)
To get started, head on over to the GOAT SDK Github or check out our Quickstart Guides to add plug-ins to your agents.
Need Support?
- Contact our Sales Team
- Join the Crossmint Discord Server
- Visit the Crossmint Help Page


