


Welcome! 👋 In this guide, we will explore how to integrate a stablecoin onramp on Solana. By the end, you will:
- Have a web app where users can purchase USDC and other supported stablecoins using their debit and credit cards
- Embed necessary KYC (Know Your Customer) processes within the app
- Create a seamless stablecoin onramp experience with enterprise-grade tools
We will be using our Fully Managed Onramp to create a natively integrated experience that keeps users within the application’s flow. Our onramp solution allows for three integration modalities - headless, embedded and hosted:
- Headless APIs: Provide maximum flexibility and customization while maintaining your app's look and feel
- Embedded Widgets: Offer pre-built, ready-to-use components that reduce development time and maintenance burden while still allowing some customization.
- Hosted Popups: Require minimal integration effort (often just a button) with virtually no maintenance. Request access for Hosted Popups here.
For this example, we will show you how to use our embedded and hosted integrations. If you need any support getting your stablecoin onramp up and running within your site, app or platform, contact us and we'd be happy to help.
Let’s dive in!
Setup
- Create a developer account in the Crossmint Console
- Create a server-side API key with the orders.create and orders.read scopes enabled
- Contact Crossmint Support to include your project in our allowlist
Create Order
Use the Create Order API to initiate the purchase process. Here’s an example API call:
const response = await fetch("https://staging.crossmint.com/api/2022-06-09/orders", {
    method: "POST",
    headers: {
        "Content-Type": "application/json",
        "x-api-key": "YOUR_API_KEY",
    },
    body: JSON.stringify({
        lineItems: [
            {
                tokenLocator: "solana:example-token-address", // Token address, e.g., USDC: 4zMMC9srt5Ri5X14GAgXhaHii3GnPAEERYPJgZJDncDU
                executionParameters: {
                    mode: "exact-in",
                    amount: "2",
                },
            },
        ],
        payment: {
            method: "checkoutcom-flow",
            receiptEmail: "user@example.com",
        },
        recipient: {
            walletAddress: "example-wallet-address", // Replace with actual recipient wallet address
        },
    }),
});

const data = await response.json();
Check KYC Requirements
After creating an order, check the response for KYC requirements:
- If payment.status is requires-kyc, direct your user through the KYC flow
- If payment.status is awaiting-payment, the user has already completed KYC and can proceed
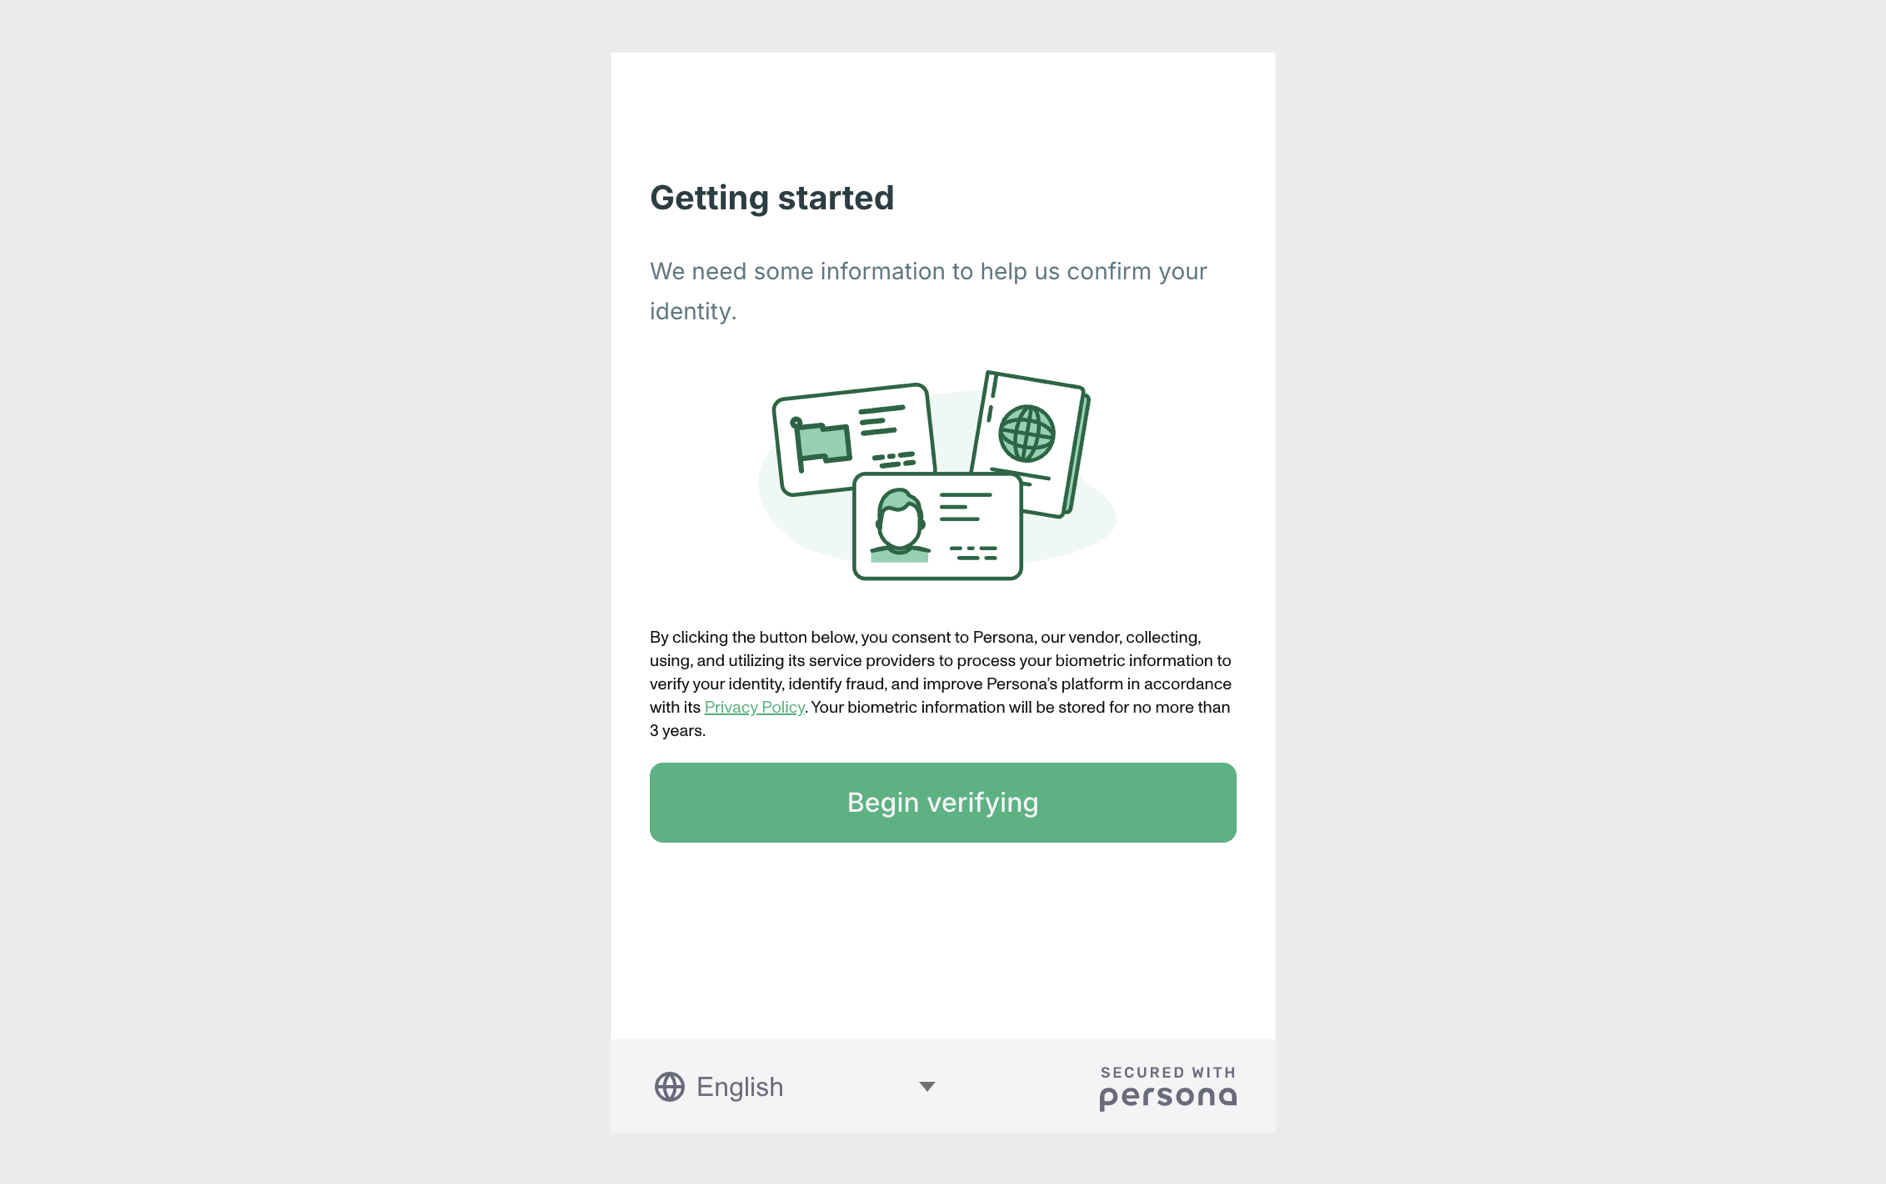
Complete KYC Process
Embedded experience
Use the provided identifiers to specify which verification template to use (templateId), which user this verification applies to (referenceId), and which environment to connect to (environmentId).
import Persona from 'persona';

const client = new Persona.Client({
  // Fill out from previous response
  templateId: "example-template-id",
  referenceId: "example-reference-id",
  environmentId: "example-environment-id",
  onReady: () => client.open(),
  onComplete: ({ inquiryId, status, fields }) =>
    console.log(`Sending finished inquiry ${inquiryId} to backend`);
  },
  onCancel: ({ inquiryId, sessionToken }) => console.log('onCancel'),
  onError: (error) => console.log(error),
});
Hosted experience
If you want to redirect users to a URL, opening it in a WebView, you can construct the proper Persona URL given the IDs above.
Poll KYC Status
Poll Crossmint’s Get Order API, replacing {orderId} with the order ID received when initiating the payment, to check the status of the verification. Polling at reasonable intervals is recommended (i.e. every 5 seconds).
const checkOrderStatus = async (orderId) => {
    const response = await fetch(`https://staging.crossmint.com/api/2022-06-09/orders/${orderId}`, {
        method: "GET",
        headers: {
            "Content-Type": "application/json",
            "x-api-key": "YOUR_API_KEY",
        },
    });

    return await response.json();
};
The possible KYC status values are:
- If payment.status is awaiting-payment, user has successfully completed KYC, proceeding to pay
- If payment.status is rejected-kyc, verification was rejected and the user can’t onramp
- If payment.status is manual-kyc, verification requires manual review and the user will be notified via email about its ultimate success or rejection

Execute Transactions
Initialize Checkout.com’s Flow component for Desktop or Mobile to render an embedded payment form using the payment session and public key obtained in the prior response.
// Example implementation using Checkout.com Flow component
const initializePayment = (checkoutcomPaymentSession, checkoutcomPublicKey) => {
    const checkout = new Checkout.Flow({
        publicKey: checkoutcomPublicKey,
        paymentSession: checkoutcomPaymentSession,
        onSuccess: (event) => {
            console.log("Payment successful", event);
            // Handle successful payment
        },
        onFailure: (event) => {
            console.log("Payment failed", event);
            // Handle payment failure
        },
    });

    checkout.mount("#payment-container");
};
Transaction Completion
Upon successful payment:
- The purchased tokens (minus fees) are sent directly to the user’s wallet
- User receives an email receipt from hello@crossmint.io
Next Steps
Now that you’ve implemented stablecoins within your app, you can:
- Discover how Crossmint's wallet infrastructure can support any use case
- Learn how to move stablecoins between wallets
Need Support?
- Contact our Sales Team
- Join the Crossmint Discord Server
- Visit the Crossmint Help Page


