


Creating and Minting NFTs on the Aptos Blockchain has never been easier. This guide will show you how to create and mint NFTs on Aptos using Crossmint.
By the end, you will learn how to:
- Deploy an NFT Collection on Aptos using an API
- Create and mint NFTs using the Mint API.
This guide will take you 20 mins to complete (approximately).
Let's get started!
Table of Contents:
What is Aptos?
Aptos is a decentralized, high-performance blockchain platform designed for scalable and secure applications. It utilizes the Move programming language, which is tailored for secure and resource-efficient transaction scripting and smart contract development.
The platform adopts a novel consensus protocol, AptosBFT (Byzantine Fault Tolerance), to improve transaction throughput and reduce latency, enabling it to handle thousands of transactions per second. This protocol represents a variant of classical BFT consensus mechanisms, optimized for enhanced performance and security.
Aptos is committed to providing a user-friendly and developer-centric ecosystem. Its architecture is modular, facilitating easy upgrades and maintenance without network disruptions. The blockchain boasts several features to ensure robust security, including the formal verification of smart contracts and a flexible account model that enhances key management and recovery.
Targeting widespread adoption of decentralized applications (dApps), Aptos focuses on scalability, reliability, and upgradability. Its infrastructure supports a broad spectrum of use cases, from finance and gaming to social applications, aiming to overcome the limitations faced by earlier blockchain systems in terms of speed, scalability, and user experience.
How to create NFTs on Aptos using Crossmint?
Crossmint allows you to create NFT Collections on the Aptos Blockchain using a single API call. You do not need to create or code the smart contract yourself using the Move language. Using the Create Collection API, you can deploy a smart contract on Aptos and create an NFT collection.
Let's learn how we can use this.
Create an API Key
Before you begin, please ensure that you have a Developer Account created on Crossmint. If not, please head over to Crossmint Console and create an account.
We will need an API Key to create NFT Collections, create NFTs, and mint NFTs on Aptos.
Navigate to the "API Keys" section on the Console. You need to create a Server-side Key, so click on "Create new key".
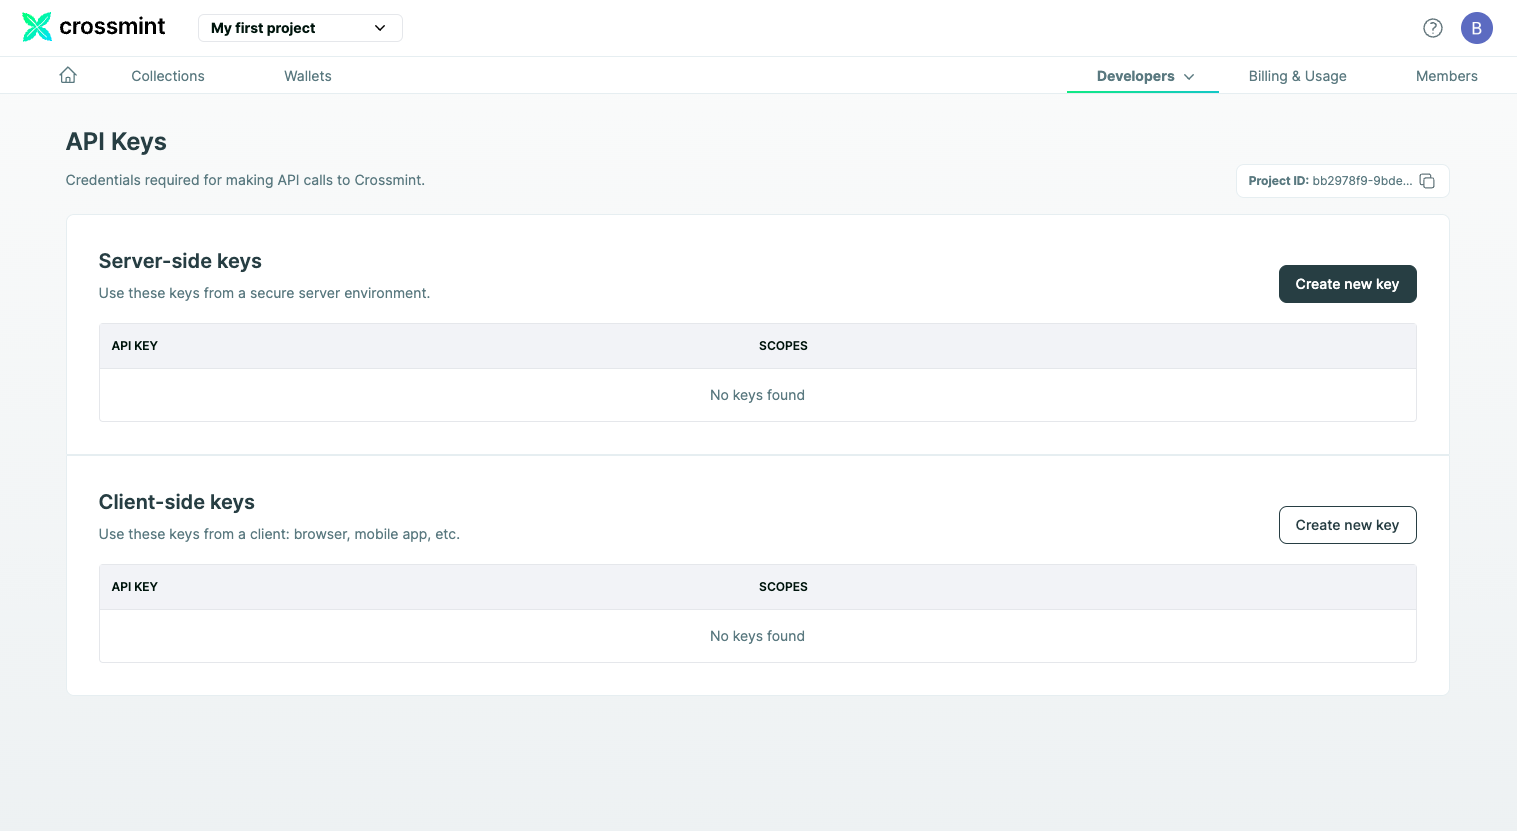
Recommended Scopes for your API Key:
- nfts.create
- nfts.read
- collections.create
- collections.update
- collections.read
If you are still confused about how you can create an API Key on Crossmint, refer to the tutorial below.
Create an NFT Collection on Aptos
In order to create an NFT Collection on Aptos, you need to use the Create Collection API.
Note: We will be using Crossmint's Production Console for this tutorial.
It's recommended that you familiarize yourself with this tutorial on Staging before you work with Crossmint's Production Console. Click here to go to the Staging Console.
Use the code snippet shared below to create the NFT Collection.
const options = {
  method: "POST",
  headers: {
    "X-API-KEY": "<api-key>",
    "Content-Type": "application/json",
  },
  body: '{"chain":"aptos","fungibility":"non-fungible","metadata":{"description":"This is a test collection created on Aptos using Crossmint","imageUrl":"https://www.crossmint.com/assets/crossmint/logo.png","name":"Aptos Test"}',
};

fetch("https://www.crossmint.com/api/2022-06-09/collections/", options)
  .then((response) => response.json())
  .then((response) => console.log(response))
  .catch((err) => console.error(err));
- X-API-KEY - Obtained in the Crossmint Developer Console.
Replace "<api-key>" with the API Key obtained from your Developer Console.
For example:
'X-API-KEY: sk_production_36YALVRY2yQtWcmN4YQNai367pGmKJPAeFNaXRYa1w8g1hYdocECweJTV'Note: Please do not expose your API Keys or projectId and collectionId. Exposing these values may lead to a security breach. Anyone with your Production API Key can use them and bill you for it. Anyone with your Production projectId and collectionId can modify your NFT Collection. These values are being displayed in this tutorial for educational purposes, however, this is not the best practice to follow when you are working on Production.
- chain - The Blockchain in which you want to create the NFT Collection. In this case, you need to pass the value as "aptos" (As shown in the sample code snippet).
- fungibility - Whether or not this collection is fungible. You need to set this as "non-fungible", since we want the tokens to be NFTs.
- description - A brief description of the Collection.
- imageURL - Direct link to your NFT Collection's cover image. This should be a URL.
- name - The name of your NFT Collection.
Note: Aptos is not an EVM compatible blockchain. You need to download a wallet extension that supports Aptos and can create new wallet addresses on Aptos for you. You can use Petra, which is a Wallet developed by Aptos Labs.
After you have populated all the fields in your code and configured it correctly, run the code snippet.
It will return an output that looks similar to the output below. If your output looks similar, it means that the code you ran was successful.
If you received an error or a different output, you can refer to our docs here to learn more about the Create Collection API and how to use it. You can also view the complete Create Collection API reference here.
{
  id: 'b3f7b1cd-21fa-4b65-8368-0a9dfc29c4dd',
  metadata: {
    name: 'Aptos Test',
    description: 'This is a test collection created on Aptos using Crossmint',
    imageUrl: 'ipfs://QmaToZn4VEjF7q4CAudPaNka6AD484xuuEZSXmTLJPDLVE'
  },
  fungibility: 'non-fungible',
  onChain: {
    chain: 'aptos',
    type: 'managed-aptos-digital-asset',
    objectId: 'PENDING'
  },
  actionId: 'b3f7b1cd-21fa-4b65-8368-0a9dfc29c4dd'
}
Please note down the value of "actionId" returned. You can use this to check the status of the collection creation by using this API.
For example, in my case, the "actionId" returned was "b3f7b1cd-21fa-4b65-8368-0a9dfc29c4dd".
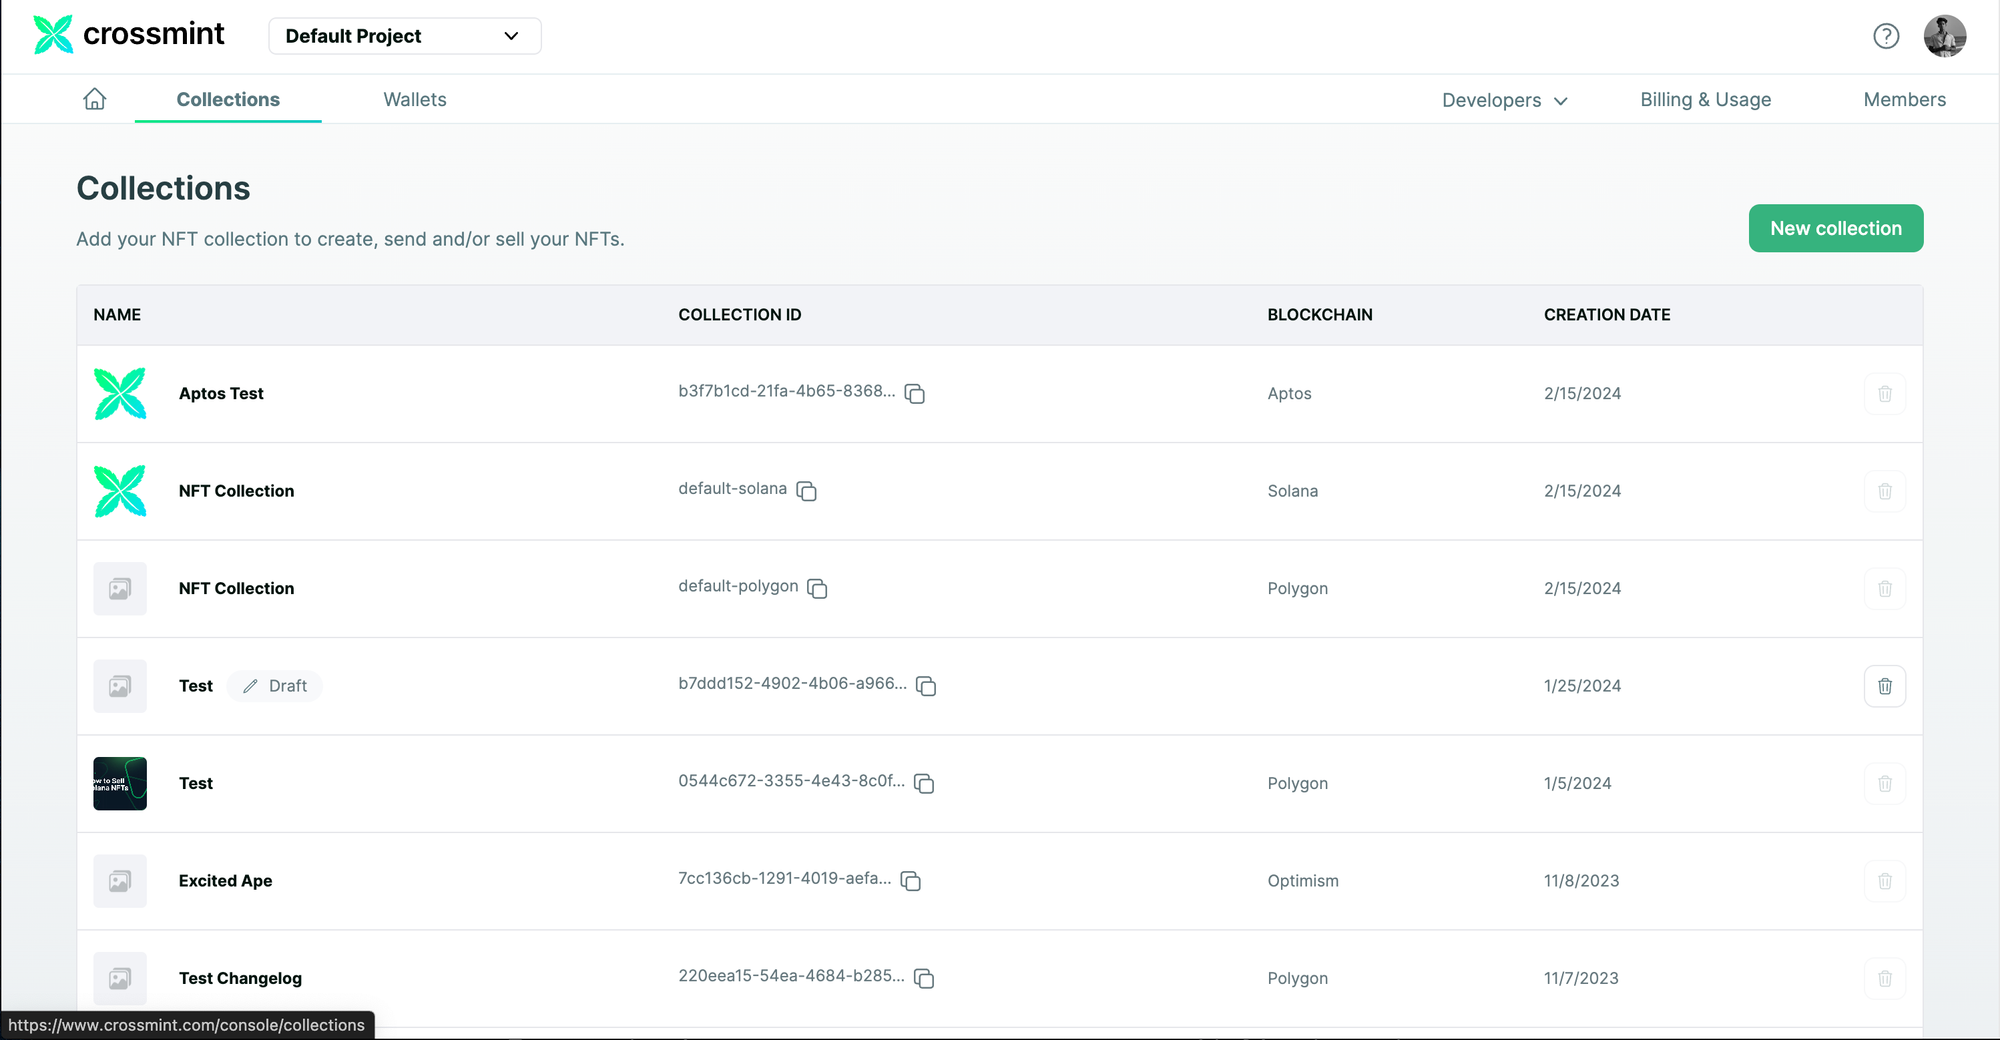
After the NFT Collection is created, you can go to Crossmint Console and you will notice the NFT Collection along with its Collection Id. In my case, the name of the collection is "Aptos Test".
Create and Mint an NFT on Aptos
We first need to mint an NFT inside our NFT Collection using Crossmint. In order to do so, we will be using Crossmint's NFT mint API.
The Mint API lets you create, mint, and deliver NFTs in under 5 minutes.
Behind the scenes, Crossmint's Mint API
- Deploys a smart contract for your NFT and creates an NFT Collection, if you don’t have one.
- Validates and uploads your metadata to decentralized storage (IPFS).
- Mints an NFT on a blockchain of your choice (Polygon, Ethereum, Arbitrum, Solana, etc)
- If you are minting to an email address, it creates an NFT wallet for the user, accessible from crossmint.com by logging in with the same email; i.e., lets you mint NFTs to email addresses.
- Sends the NFT to that wallet.
In order to mint an NFT inside your NFT Collection using the Mint API, use the code snippet below.
const options = {
  method: "POST",
  headers: {
    "X-API-KEY":"<api-key>",
    "Content-Type": "application/json",
  },
  body: '{"metadata":{"description":"First NFT on Aptos","image":"https://wallpapercave.com/wp/wp9637250.jpg","name":"Aptos NFT"},"recipient":"aptos:0xd235b4065e453473e3bc35eb0c05dfe75a17a2fae65f0584481934d9bc4b03bd"}',
};

fetch(
  "https://www.crossmint.com/api/2022-06-09/collections/{collectionId}/nfts",
  options
)
  .then((response) => response.json())
  .then((response) => console.log(response))
  .catch((err) => console.error(err));
- The value for api-key need to be changed with the respective value obtained from the Developer Console. Refer to the section above to see how to obtain this value and substitute them into your code.
- collectionId - The collectionId for your created NFT Collection can be found on your Developer Console. In the screenshot attached below, you can learn where you can obtain this value from.
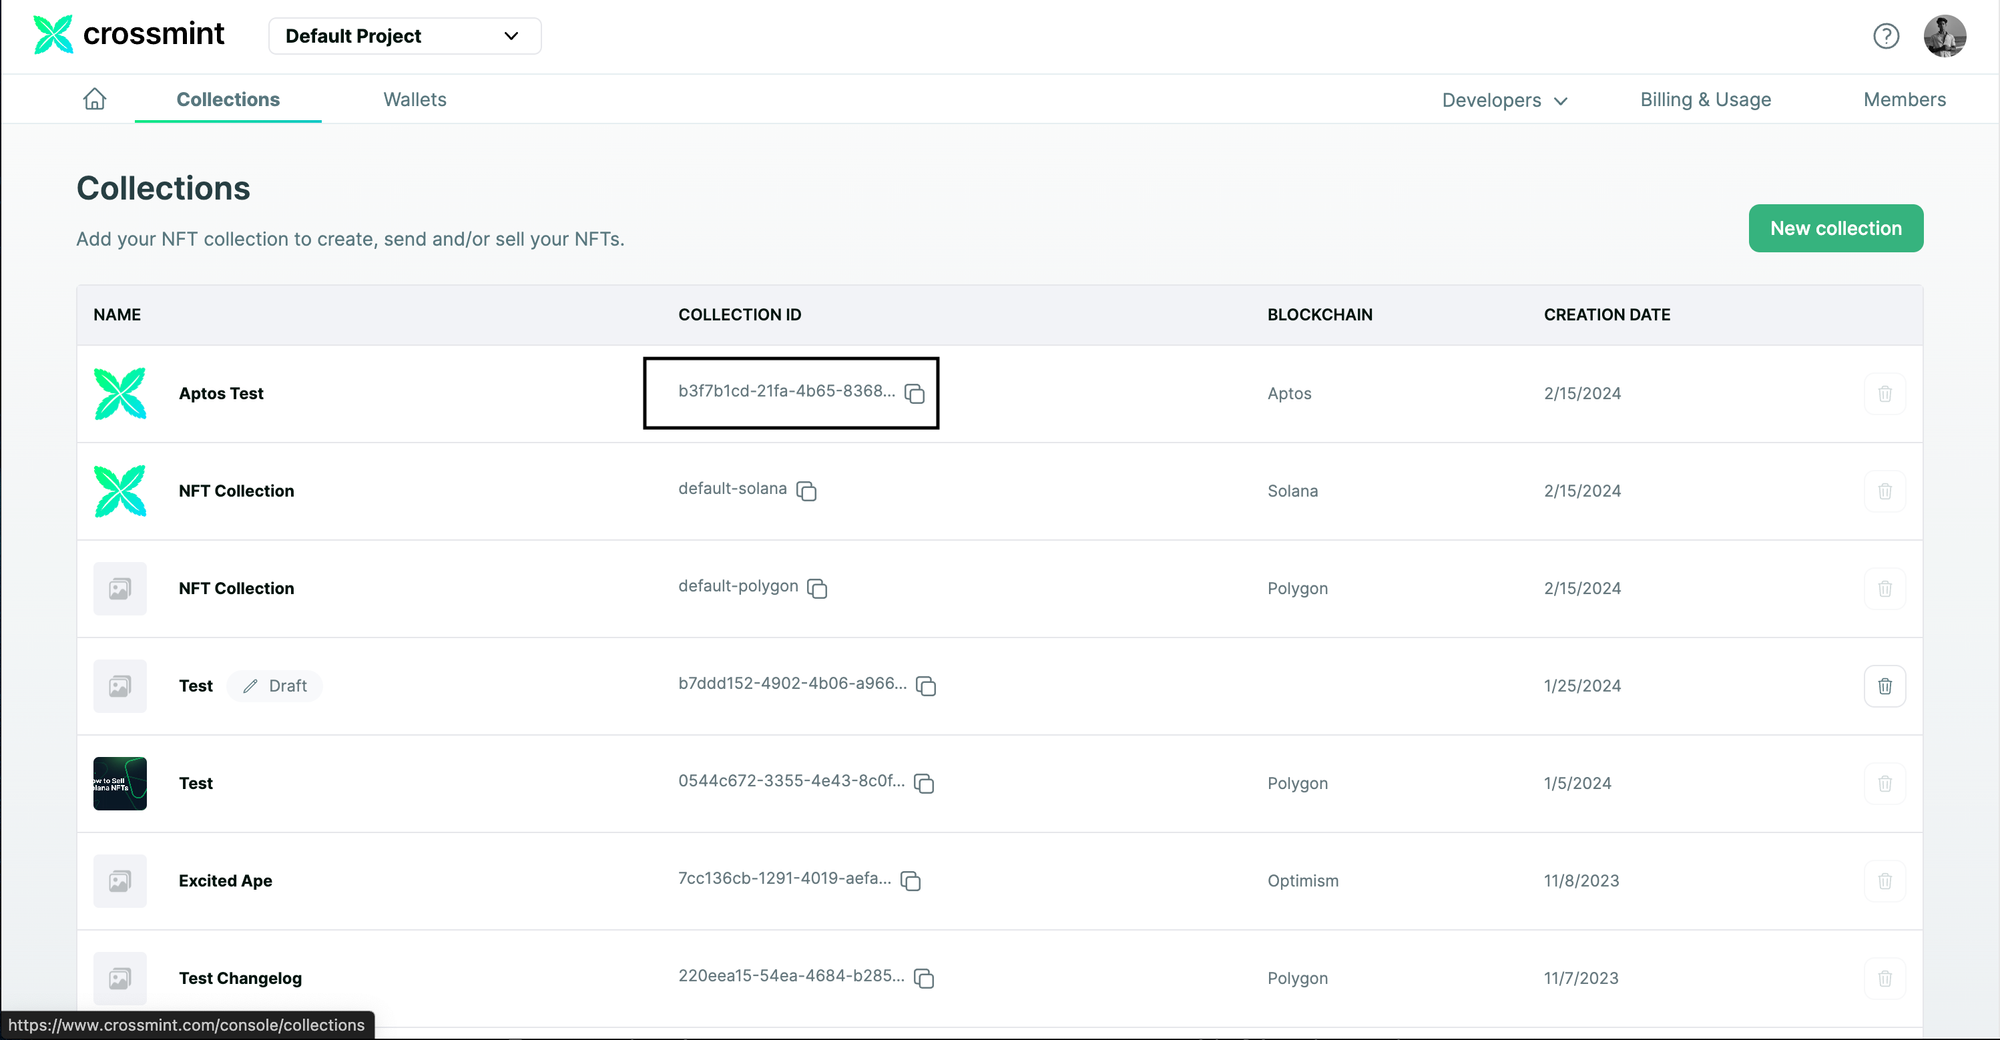
- Replace "{collectionId}" in the "url" with the value obtained from the Developer Console.
https://www.crossmint.com/api/2022-06-09/collections/b3f7b1cd-21fa-4b65-8368-0a9dfc29/nfts- description - A brief description of the NFT.
- image - Direct link to your NFT image. This is a URL.
- name - The name of your NFT.
- recipient - The Aptos wallet address that the NFT should be sent to.
The recipient parameter needs to be formatted in this format, "<chain>:<address>". In my case, the value is "aptos:0xd235b4065e453473e3bc35eb0c05dfe75a17a2fae65f0584481934d9bc4b03bd".
Note: Minting NFTs to an email address is not currently supported on Aptos, please stay tuned for further updates.
After you have populated all the fields in your code and configured it correctly, run the code snippet.
It will return an output that looks similar to the output below. If your output looks similar, it means that the code you ran was successful.
If you received an error or a different output, you can refer to our docs here to learn more about the Mint API and how to use it. You can also view the complete Mint API reference here.
{
  id: '119de969-403b-446e-ae10-0b901e8cf657',
  onChain: { status: 'pending', chain: 'aptos' },
  actionId: '119de969-403b-446e-ae10-0b901e8cf657'
}
Please note down the value of "actionId" returned. You can use this to check the status of the NFT creation and minting by using this API.
For example, in my case, the "actionId" returned was "119de969-403b-446e-ae10-0b901e8cf657".
View the Minted NFT
In order to see the status of NFT creation and minting, you need to use the Get Action Status API.
curl --request GET \
  --url https://staging.crossmint.com/api/2022-06-09/actions/{actionId} \
--header 'X-API-KEY: <api-key>'- actionId - The actionId returned to you when you executed the Mint API code. Refer to the sample response in the section above.
- Replace "{actionId}" in the "url" with the value obtained from the JSON response received.
For example,
url https://staging.crossmint.com/api/2022-06-09/actions/119de969-403b-446e-ae10-0b901e8cf657- The value for api-key needs to be changed with the respective value obtained from the Developer Console. Refer to the section above to see how to obtain this value and substitute them into your code.
After you have populated all the fields in your code and configured it correctly, run the code snippet.
It will return an output that looks similar to the output below. If your output looks similar, it means that the code you ran was successful.
If you received an error or a different output, you can refer to the complete Get Action Status API reference here.
{
  "actionId": "119de969-403b-446e-ae10-0b901e8cf657",
  "action": "nfts.create",
  "status": "succeeded",
  "data": {
    "chain": "aptos",
    "collection": {
      "id": "b3f7b1cd-21fa-4b65-8368-0a9dfc29c4dd",
      "objectId": "0xd41f194eb2f45ddcadcb93699634dd10788bb317618f232d3bc6e6ea1a4a9d3b"
    },
    "recipient": {
      "walletAddress": "0xd235b4065e453473e3bc35eb0c05dfe75a17a2fae65f0584481934d9bc4b03bd"
    },
    "token": {
      "id": "119de969-403b-446e-ae10-0b901e8cf657",
      "owner": {
        "walletAddress": "0x076036d49f09e312c927250068089195c3df056b938976b4fa49ad5586fa8ff8"
      },
      "objectId": "0xc16acf2620c821ecac8337f617dd5f1f9bfd86953515101b07048ba515f392a9"
    }
  },
  "startedAt": "2024-02-15T09:02:19.000Z",
  "completedAt": "2024-02-15T09:02:25.000Z",
  "resource": "https://www.crossmint.com/api/2022-06-09/collections/b3f7b1cd-21fa-4b65-8368-0a9dfc29c4dd/nfts/119de969-403b-446e-ae10-0b901e8cf657"
}
You can view the complete transaction details in the above response.
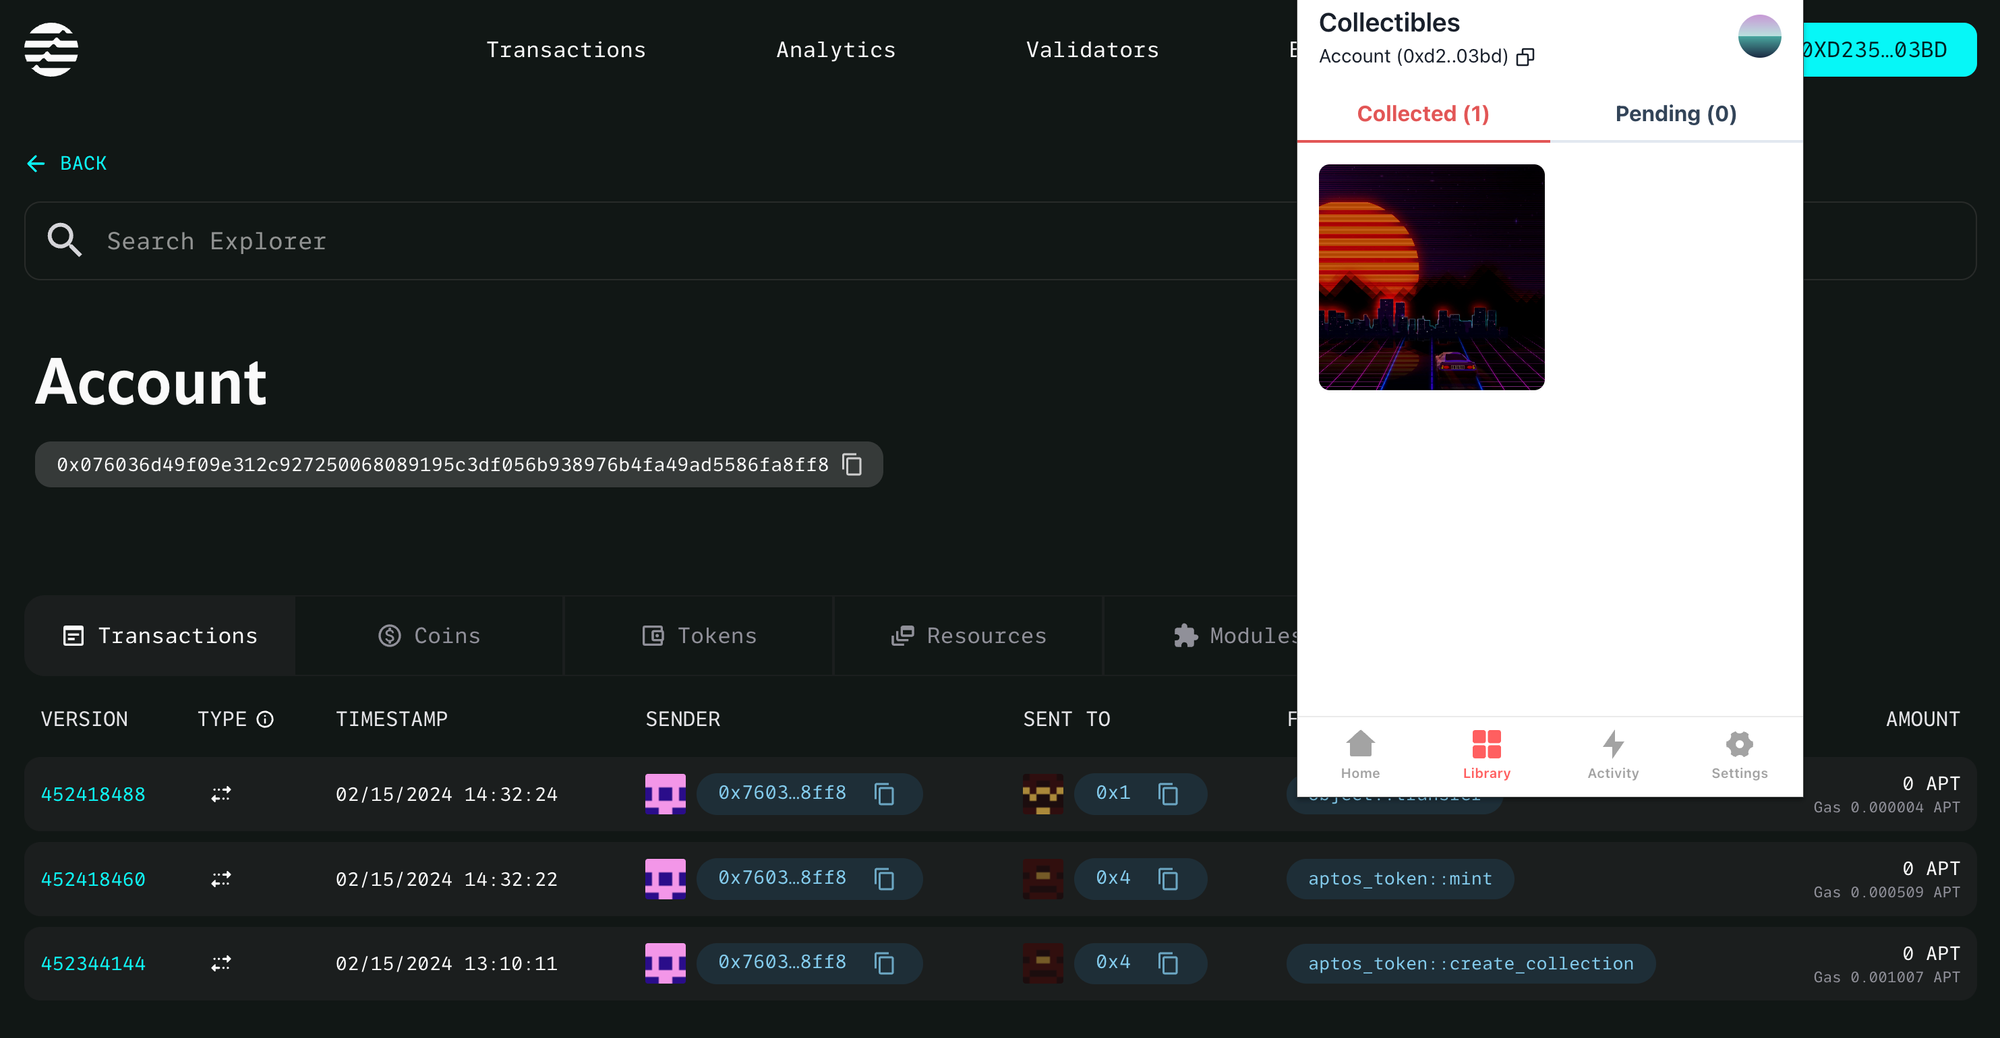
Now, open your Petra Wallet.
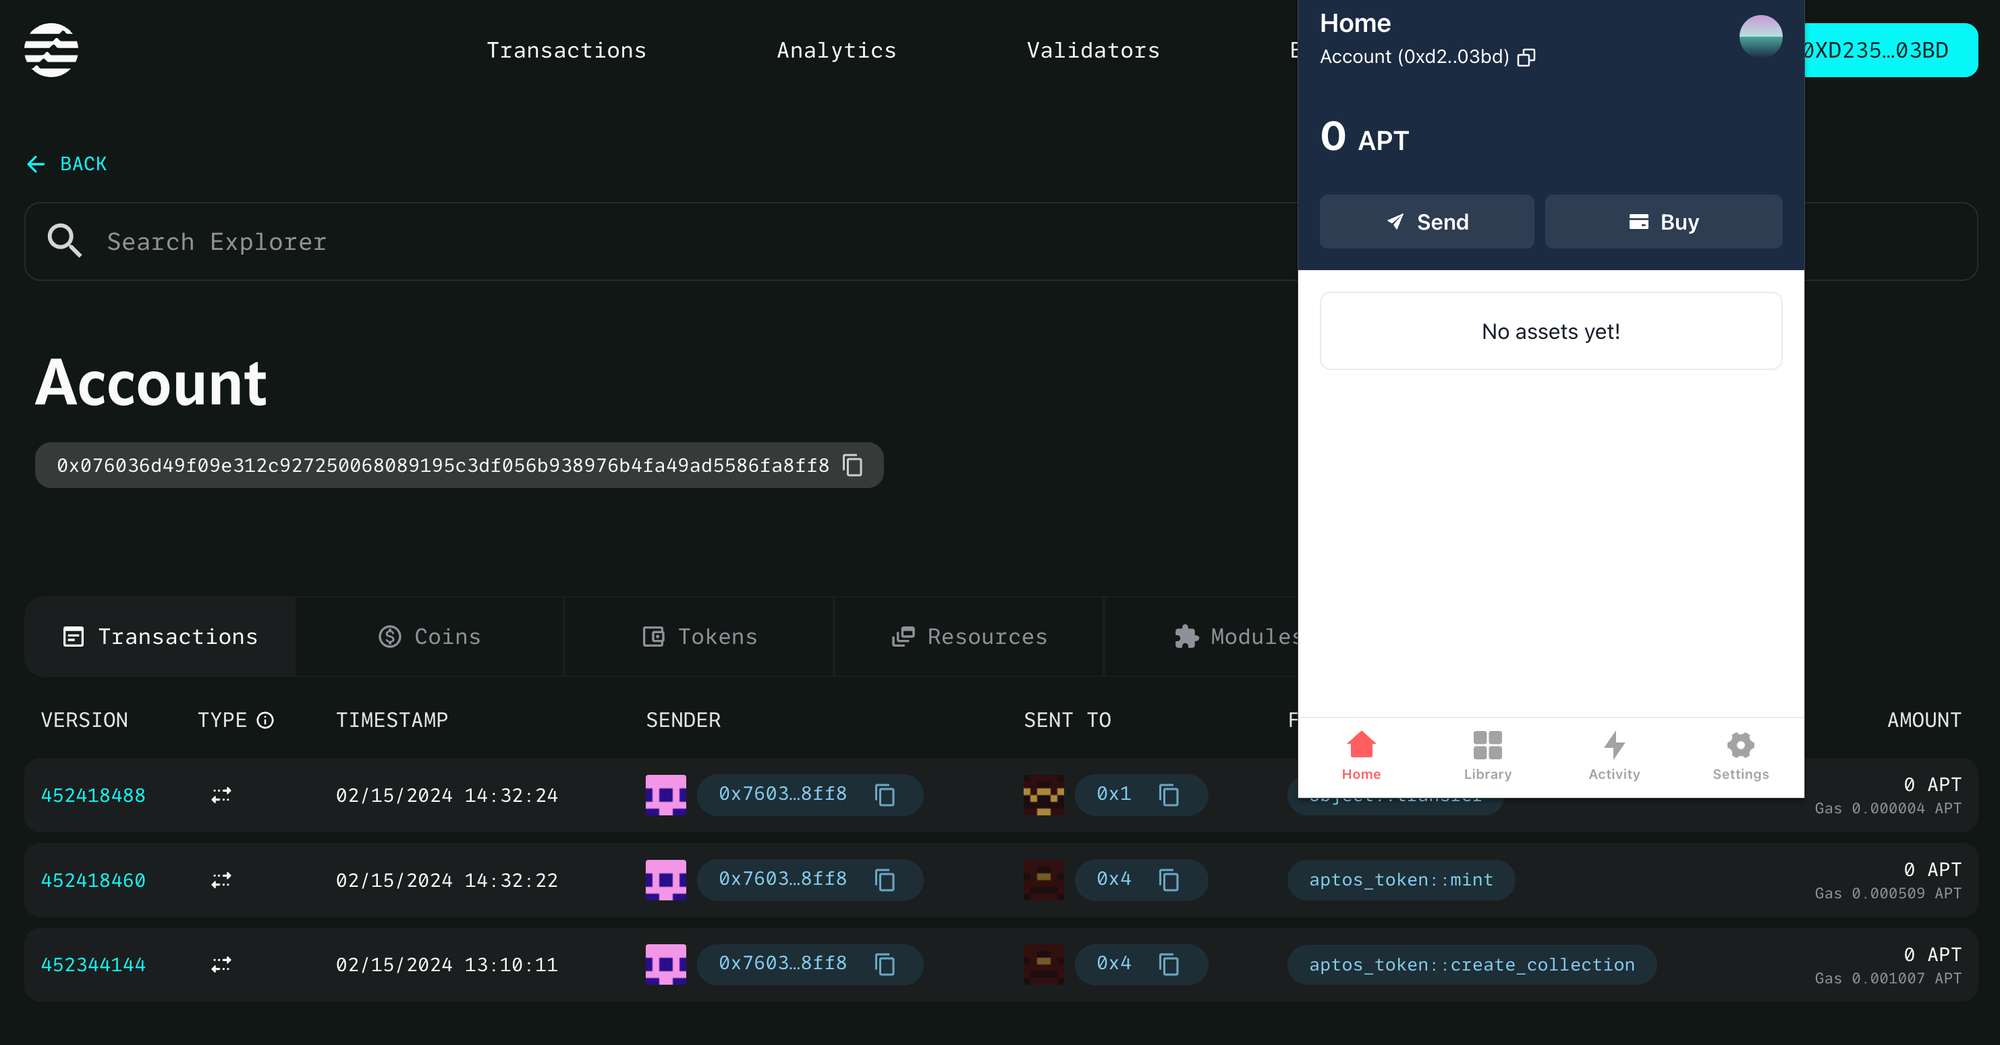
Click on "Library". You will be able to view the minted NFT now.
Click on the NFT. You will be able to view more details about the minted NFT now.
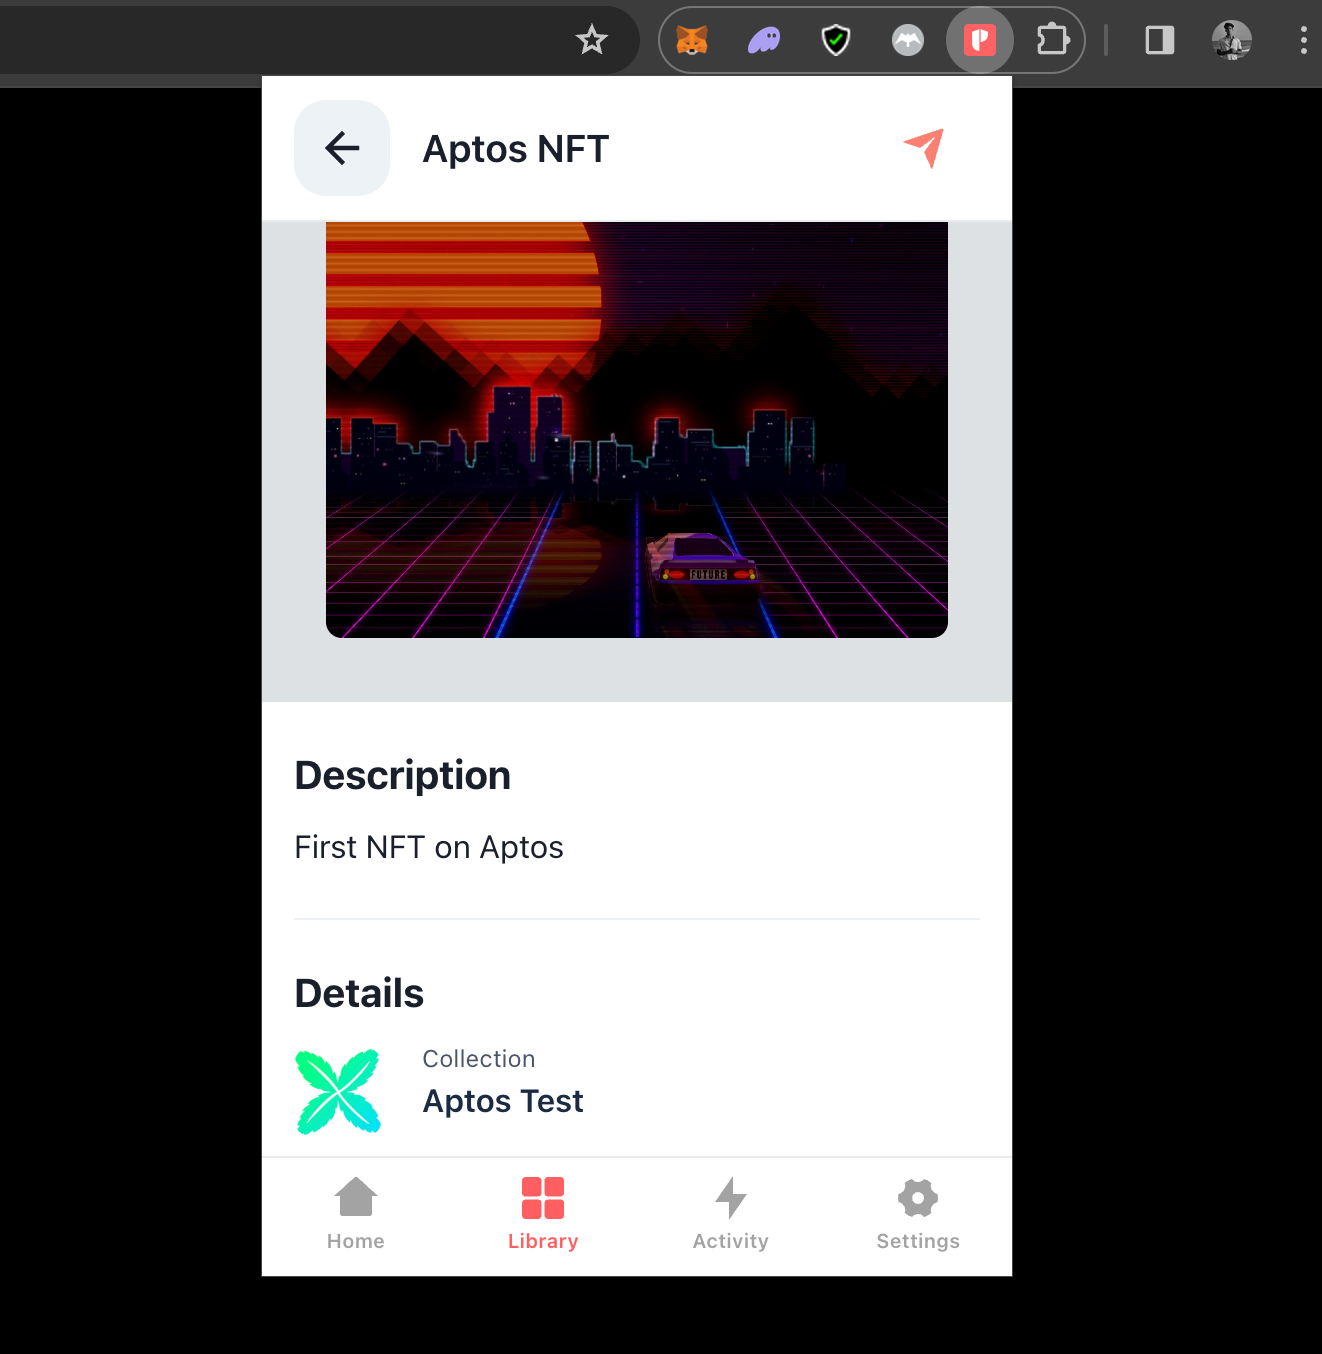
You can view more details of the NFT by scrolling down.
And that's it! You have now successfully learned how to create an NFT Collection on Aptos. You also learned how to create, mint and deliver an NFT to your wallet address.
What's Next?
If you are wondering how Crossmint has helped enterprises and brands by powering their NFT Drops, you can click on the link below to read all our Case Studies.


If you want to learn how to use the Crossmint Console to the best of its abilities, please watch the videos in the YouTube Playlist below.
Need help?
For support, please join the official Crossmint Discord Server. You can also use Crossmint Help Page for the same.