


This guide will show you how to accept Credit Card and Cross-chain payments for your thirdweb NFT Drop Contract using Crossmint’s free-for-seller No-code Storefront.
By the end, you will learn how to deploy a smart contract on the Polygon Mumbai network using thirdweb, set it up to accept Credit Card payments, and mint an NFT using your Credit Card.
This guide will take you 10 minutes to complete (approximately).
Let’s get started!
What is thirdweb?
thirdweb, a dedicated web3 development platform, specializes in the creation, deployment, and seamless interaction with smart contracts. It effortlessly melds web3 technologies within diverse arenas like gaming and digital marketplaces.
This platform acts as a catalyst in blockchain-based financial transaction processing, propelling the evolution of decentralized applications.
Armed with versatile SDKs, ready-to-deploy contracts, and a robust arsenal of web3 development tools, thirdweb paves the way for a swift migration of projects into the decentralized digital ecosystem, equipping developers with the requisite toolkit for success.
Create and deploy a smart contract on thirdweb
To begin, head over to the thirdweb dashboard and click on “Create”. We will be deploying an NFT Drop contract, so select NFT Drop.

Note: You need to connect your wallet to the thirdweb dashboard and then verify your email id to proceed. Ensure that you connect your wallet successfully before proceeding with the steps shown below.
Click on Deploy now and you will be prompted to fill out the details for your NFT Collection.

Enter the name of your NFT Collection, Symbol and Description. If you want to ensure that your NFTs are configured with Royalties, please enter the value in percentage as shown in the screenshot attached and also the wallet address you want to receive your royalties in. You also need to enter the wallet address where you would like to receive the revenue from the initial sales of the assets.

In this tutorial, we will be deploying the contract on Mumbai Testnet. So you need to select the network as "Mumbai". Click on “Deploy Now” after you have reviewed the details that you entered.

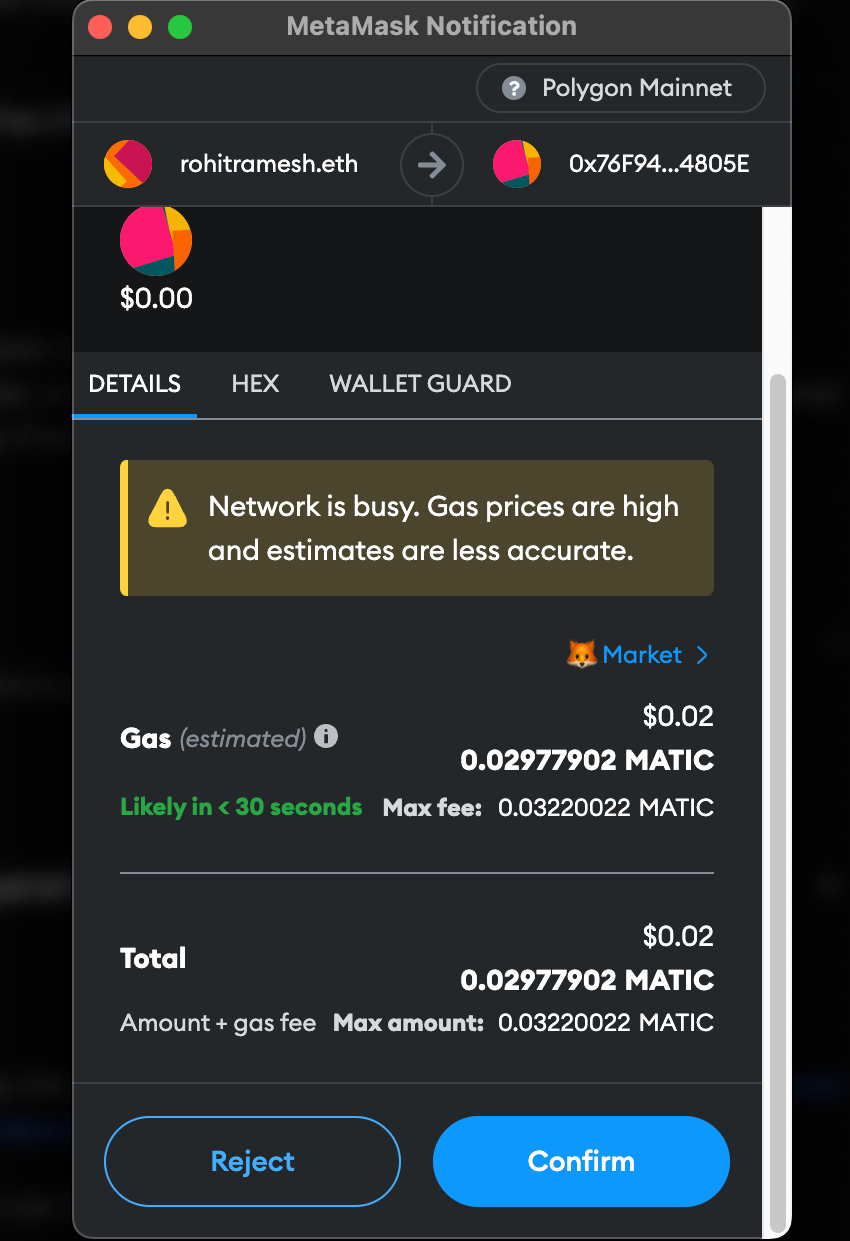
You will notice that your contract is ready to be deployed on the selected network. You will be prompted to approve the transaction on your connected wallet address. Please approve the transaction by clicking on “Confirm”.
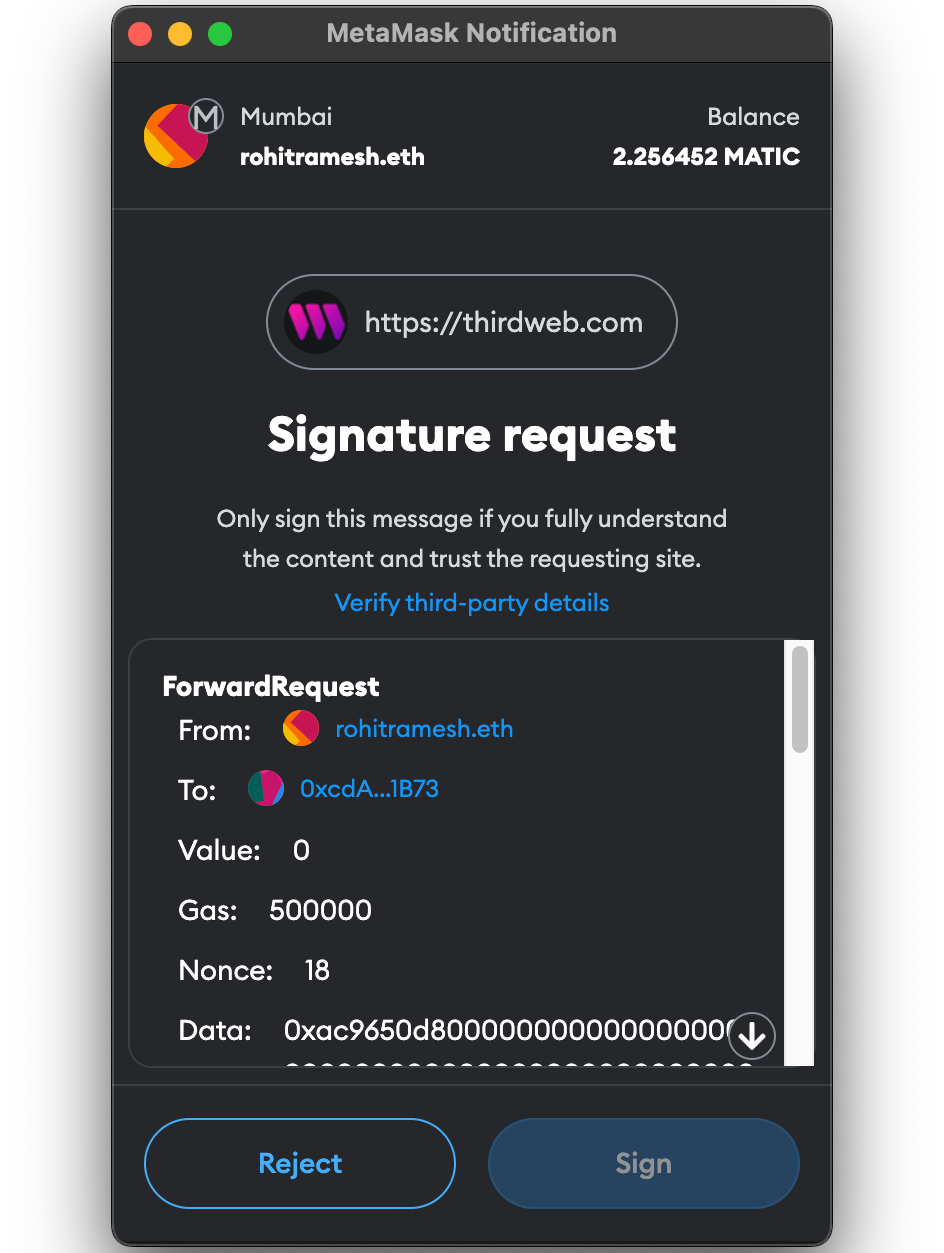
After your transaction is completed, you will be prompted with a signature request from thirdweb. This is a gasless process to add your deployed contract to the thirdweb dashboard. Click on “Sign” to proceed.
Uploading your NFTs
You will now be able to see the contract that you deployed on the thirdweb dashboard. Next, you need to upload the NFT media files and metadata file for your collection. Click on “NFTs” that you see under “Extensions” on the left to proceed.

Notice that the total supply of our collection at the moment is 0 as we still need to upload our NFT assets. In this tutorial, we will be using Batch Upload. Click on “Batch Upload” to proceed.

You now need to select and upload all your NFT media files along with the metadata file. For the sake of this tutorial, I will be uploading five AI generated Samurai images along with their metadata.

Note: Please read through the Requirements and Options shown on the screen carefully before you proceed. Your files and metadata need to be properly formatted to ensure that there no error occurs during your upload process.
Once the upload is successfully completed, you will be able to see a preview of the NFTs that you uploaded and its metadata. Review your uploaded NFT media files and their configured metadata carefully. After you have reviewed it, please click on “Next” to proceed.

You will now be able to configure when your NFTs will be revealed. For this tutorial, we will be selecting the “Reveal upon mint” function. Click on “Upload NFTs” to proceed.
Note: You can also shuffle the order in which your NFTs get lazy-minted on the contract and the order of mint before you upload. If you wish to use this feature for your collection, please click on the checkbox you see above the “Upload NFTS” button.

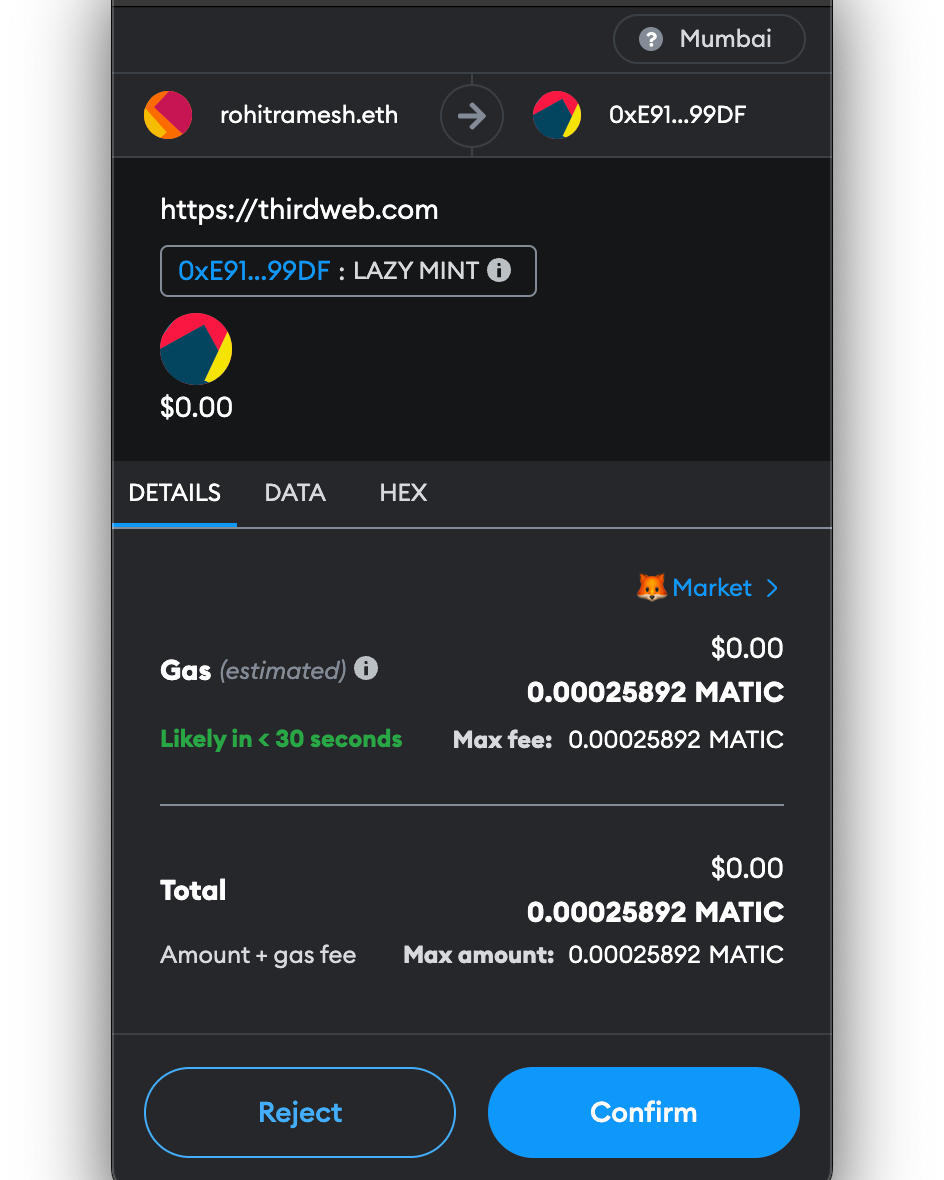
You will be prompted to approve a transaction using your connected wallet to complete the Batch Upload. Please click on “Confirm” to proceed.
On your contract’s dashboard, you will now be able to see that the NFTs have been successfully uploaded and the total supply has increased as well.
Set Claim Conditions for your Collection
In order for us to make our NFTs claimable, we need to set the Claim Conditions for the contract. Click on “Claim Conditions” that you see under “Extensions” on the left to proceed.

Click on “+ Add Phase”. Once you do this, you will see four different options to set up your Claim Conditions. In this tutorial, we will be going forward with a Public claim phase, so click on “Public”.
Note: Public mint lets any wallet address claim your NFTs. However, you can select a different claim phase option as per your requirements; but in order to make it work with Crossmint, you will need to set your Claim Conditions to have an active public claim phase.

In this tutorial, I have set the number of NFTs that can be claimed per wallet as `1` and then price per NFT as `0.001` . You can customize these fields as per your requirements.

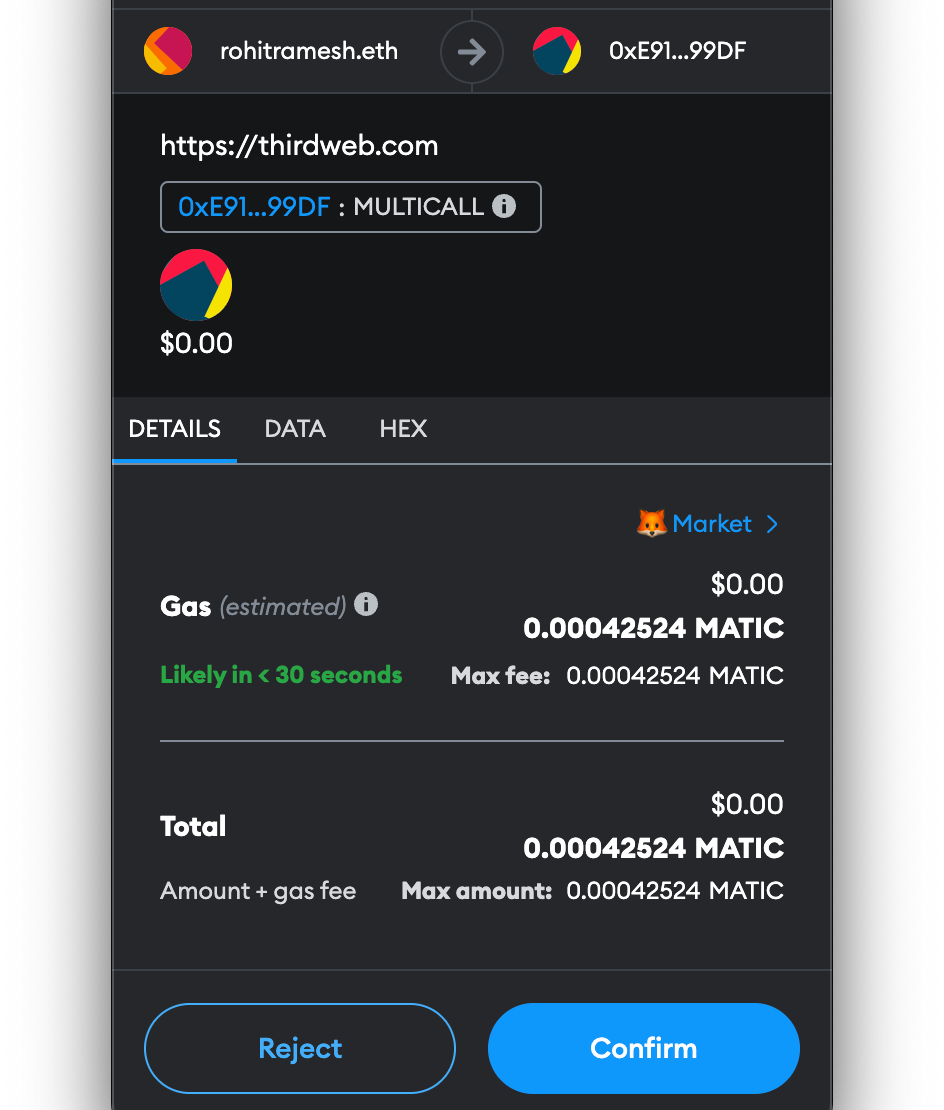
Click on “Save Phases” once you have finished setting the values for your Claim Condition. You will be prompted with a transaction awaiting your approval. Click on “Confirm” to proceed.
The Public claim phase settings should be visible on your dashboard after your transaction is completed.

How to enable payments for your thirdweb NFT Collection using Crossmint
Import the Collection on Crossmint
Head over to Crossmint’s developer console to get started. Since our contract was deployed on the Mumbai testnet, we will be using Crossmint Staging Console. Click here to head to the Staging Console.
Note: If you do not have an account created on Crossmint, you will first need to create your account before you proceed with the rest of this tutorial.
Click on “Collections” and then click on “New collection” to create a new collection on Crossmint.

Enter your Collection name and Description. Then, upload your Collection’s cover image. You can also enter your Website, Twitter, and Discord if you wish to do so. Click on “Next” to proceed.

Since you have already deployed your contract via thirdweb, you need to click on “Import an existing contract”. After you have selected the option, click on “Next”.

Select the Blockchain you deployed your contract on, in our case, it is Polygon. You then need to select the Contract provider as thirdweb. Click on “Next” to proceed.

The contract deployed was an NFT Drop contract, so click on “NFT Drop”. You now need to enter your contract address of the collection that you deployed on thirdweb. After you have pasted the contract address, click on “Next” to proceed.
Note: The “NFT Drop” option is also the selection you should make for Open Edition ERC-721 and Signature Drop contracts.

Review the details that you entered and click on “Register Collection”.

Set up your no-code storefront and the payment methods allowed
You will now be able to see your imported collection on Crossmint. You will now need to navigate to the “Payments” page on your collection. You can now set up the No-code Storefront for your NFT Collection to let your users be able to mint your NFTs using a Credit Card.

Click on the toggle switch button next to “No-code Storefront”. You now need to enter the price per NFT, in our case, it is 0.001 Matic. Click on Save to save your configuration. Note: You can select which payment methods you want to allow for your collection. Use the checkbox next to each of the payment options given below to enable or disable them.

You will be able to notice that there will be a link to your No-code Storefront page right below the “Save” button. Please copy that link, this will be the URL that you need to share with your customers or users in order for them to be able to mint with a credit card. Note: You can also download the QR code, which will redirect your users to the No-code Storefront after they scan it.
For the sake of this tutorial, let’s copy that and paste it on a new tab. This is what your Mint page will look like!

Note: If you wish to customize your No-code Storefront, you can click on “Branding” on Collections page and modify the overall design of your No-code Storefront page.

For now, let’s proceed with the Checkout flow of No-code Storefront. For the sake of this tutorial, we will be using the “Buy with credit card” option, so please click on that.
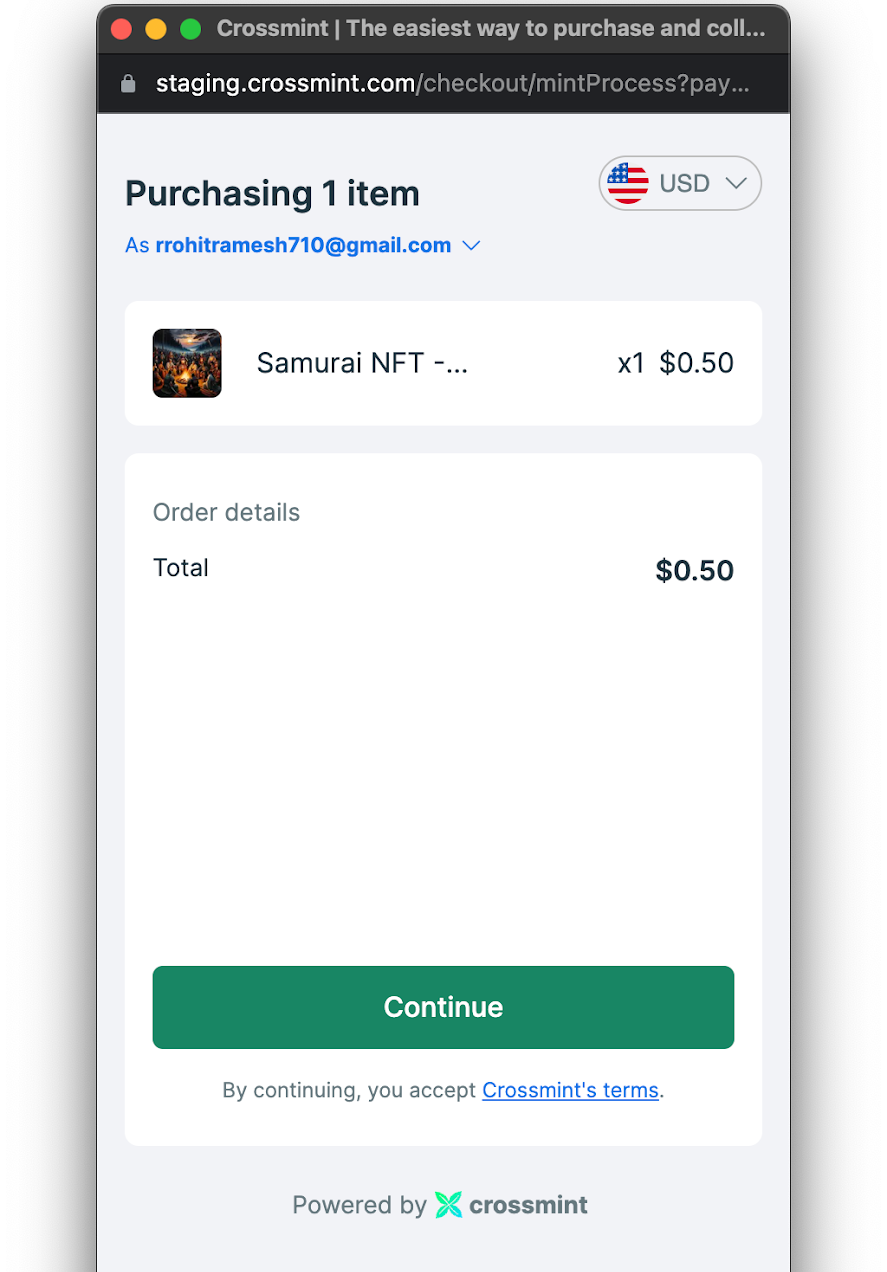
Click on “Continue” to proceed with the payment. You will be able to see the payment page for Credit Cards.
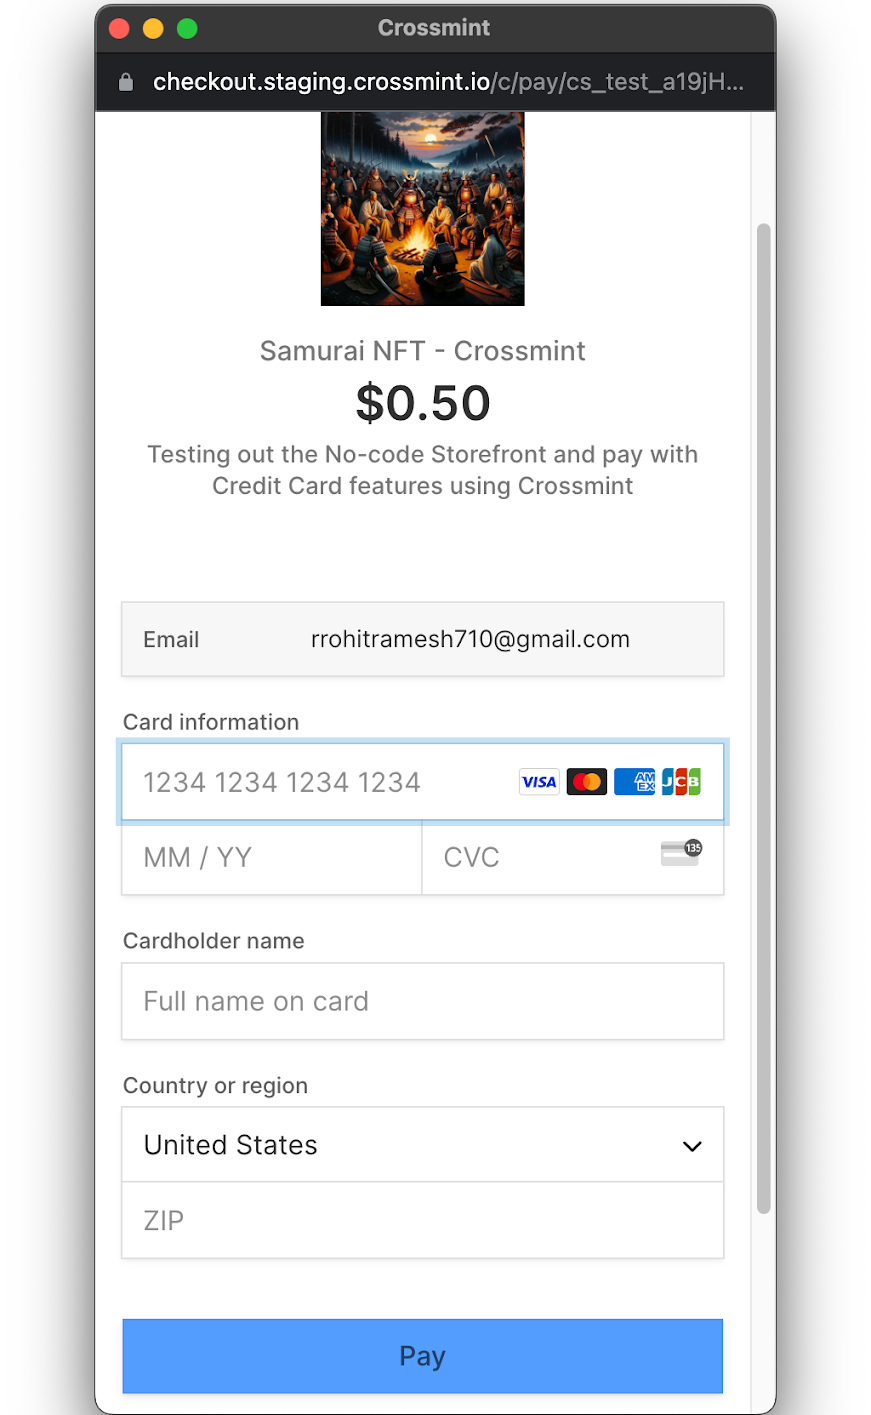
Let’s now enter some dummy Credit Card information for this. Since the imported collection is on the Staging Console and the underlying thirdweb contract is on a testnet, we can test the payment flow using a Stripe approved dummy Credit Card information. Let’s enter the Card number as "4242 4242 4242 4242", the date of expiry as "07/30" and the CVV as "011". Please enter your name and select your Country (enter your ZIP code if the payment page asks for it, this usually varies from country to country).
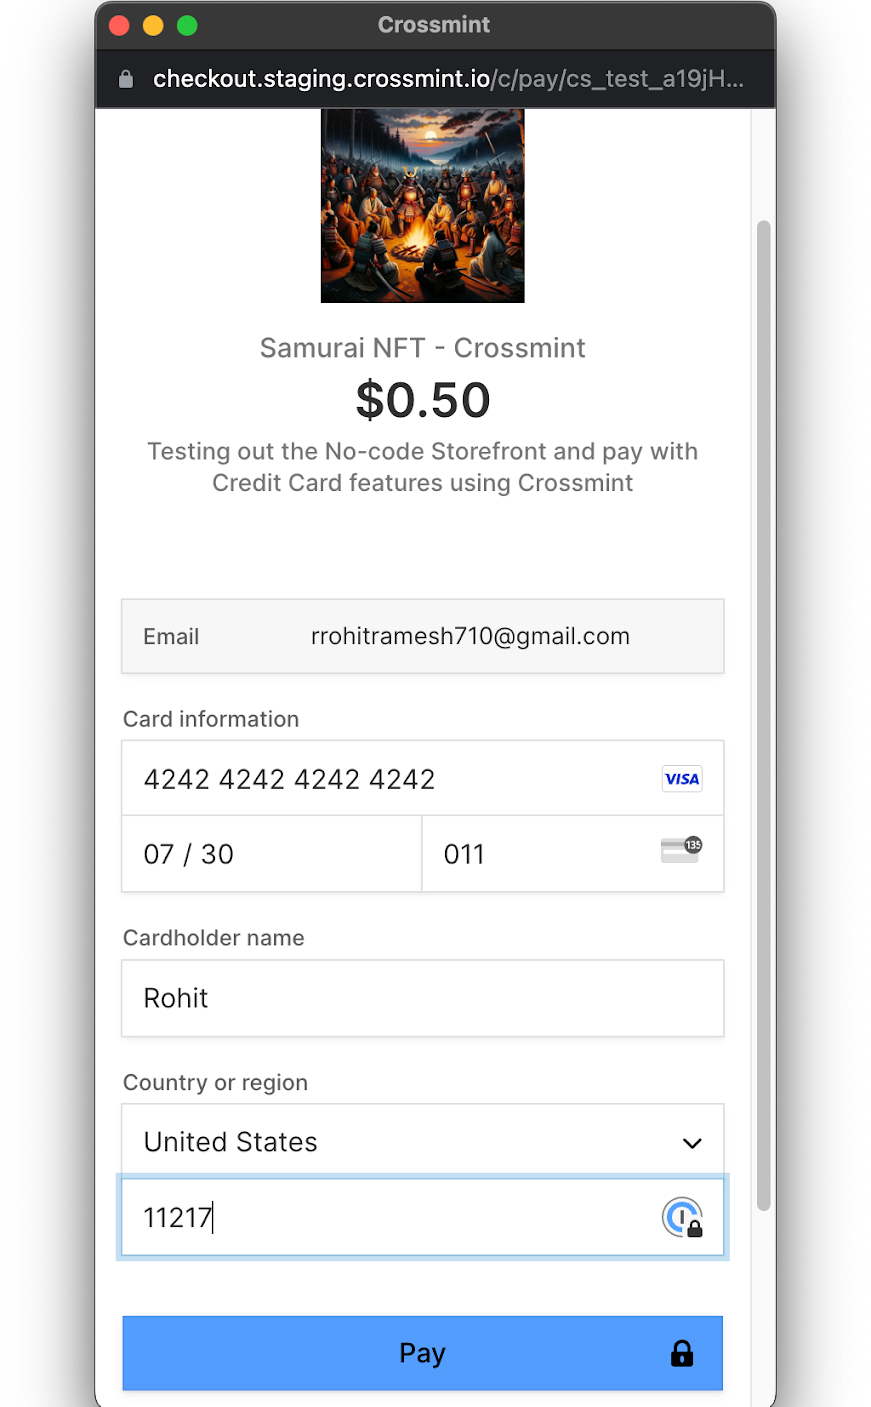
Click on “Pay” to proceed with your payment. It will take a few minutes for the payment to be processed and delivered to your Crossmint wallet.
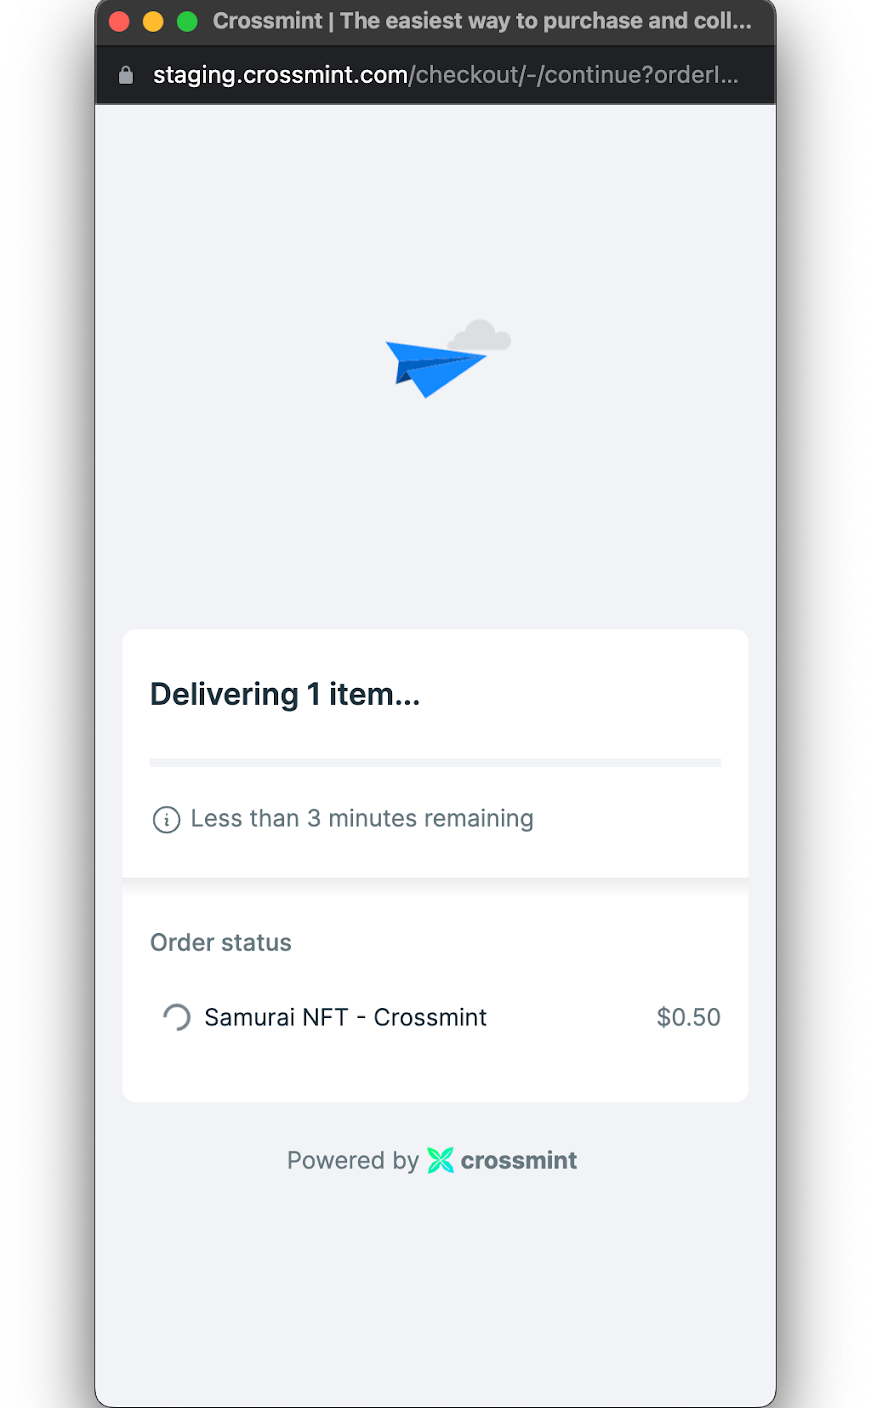
You can see that the purchase has been completed. You can transfer this to your Polygon wallet address for free of cost from your Crossmint custodial email wallet.
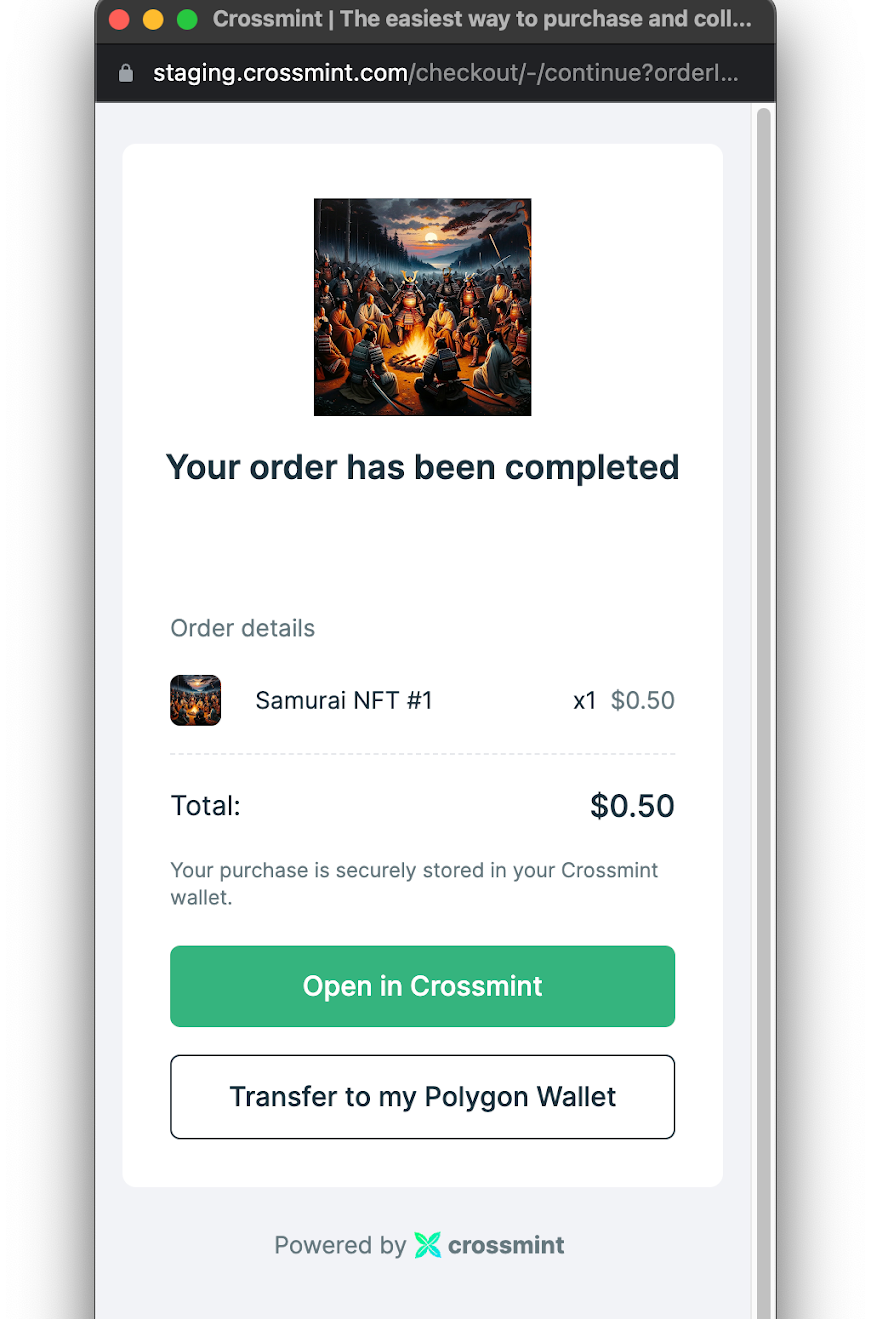
Note: Since you used your email Id to purchase the NFT, the NFT will be minted to your Crossmint Custodial Wallet tied to the email Id that you used. You can transfer this NFT from your Crossmint Custodial Wallet to your personal wallet address at any point of time for free.
You can also view the NFT on OpenSea.

How to migrate from Staging to Production?
- You will need to deploy the NFT Drop thirdweb contract on a Mainnet instead of a Testnet.
- You will need to use our Production Console instead of our Staging Console. Click here to be redirected to the Production Console and get started.
- You will then need to import the contract you deployed on a Mainnet on Crossmint’s Production Console.
- After you import your thirdweb contract, you will need to verify that you are the project owner and also verify your collection. You can learn more about this process in detail here.
- You will then need to enable the No-code Storefront to view your final mint page.
What’s next?
Now that you have successfully set up Credit Card payments on your thirdweb NFT Collection using Crossmint. Next, you can learn how to build a custom UI for your collection using Crossmint’s Embedded Checkouts feature.
You can also learn how to mint an NFT using a single API call.
Need help?
For support, please join the official Crossmint Discord Server. You can also use Crossmint Help Page for the same.