


Crossmint's fiat on-ramp allows anyone to buy an NFT in under a minute using only their email and credit card, with no need for a wallet or cryptocurrency. Now we're taking it further by enabling cross-chain payments for your mints.
Learn How to Purchase a Solana NFT with Ethereum
One crucial step for making NFTs more accessible to most people is abstracting all the complexity of multiple cryptocurrencies and ways of payments away from the user. Crossmint’s fiat on-ramp allows anyone to buy an NFT in under a minute using only their email and credit card, with no need for a wallet or cryptocurrency. Now we’re taking it further by enabling cross-chain payments for your mints.
Crossmint allows you to accept other cryptocurrencies as payment for your NFT sales. For example, you can accept ETH for your Solana mint, MATIC for your Ethereum mint, SOL for your Avalanche mint, or any combination. Also, your customers don’t need to have a wallet for a specific blockchain before purchasing. Instead, a custodial wallet is automatically created for them when they buy using ETH and associated with their email address.
In this guide, we’ll show you how to enable Ethereum payments for your NFT drop using Solana Candy Machine in a few easy steps — you can easily do the same for your Polygon or Avalanche drop.
If you haven’t yet set up your own Solana Candy Machine, make sure you go through our guide for that first. From here on, we’ll assume you already have your Candy Machine set up with a website.
Let’s get started!
Step 1: Create your Crossmint developer account
First, visit the Crossmint Staging Developer console and create a new account.
After you create your account and verify with your email, you will see a screen that asks how you heard about Crossmint. For example, you can enter something like Solana ETH guide.
Next, you’ll see the collections screen. Create a new collection. Make sure you choose Solana and enter your Candy Machine’s ID in the Candy Machine ID field.

Fill in the remaining fields with information related to your NFT drop. Now click on the Create Collection button, and if there are no errors, you’ll go back to the primary collections screen. After clicking on the collection you just created, you’ll see this screen:
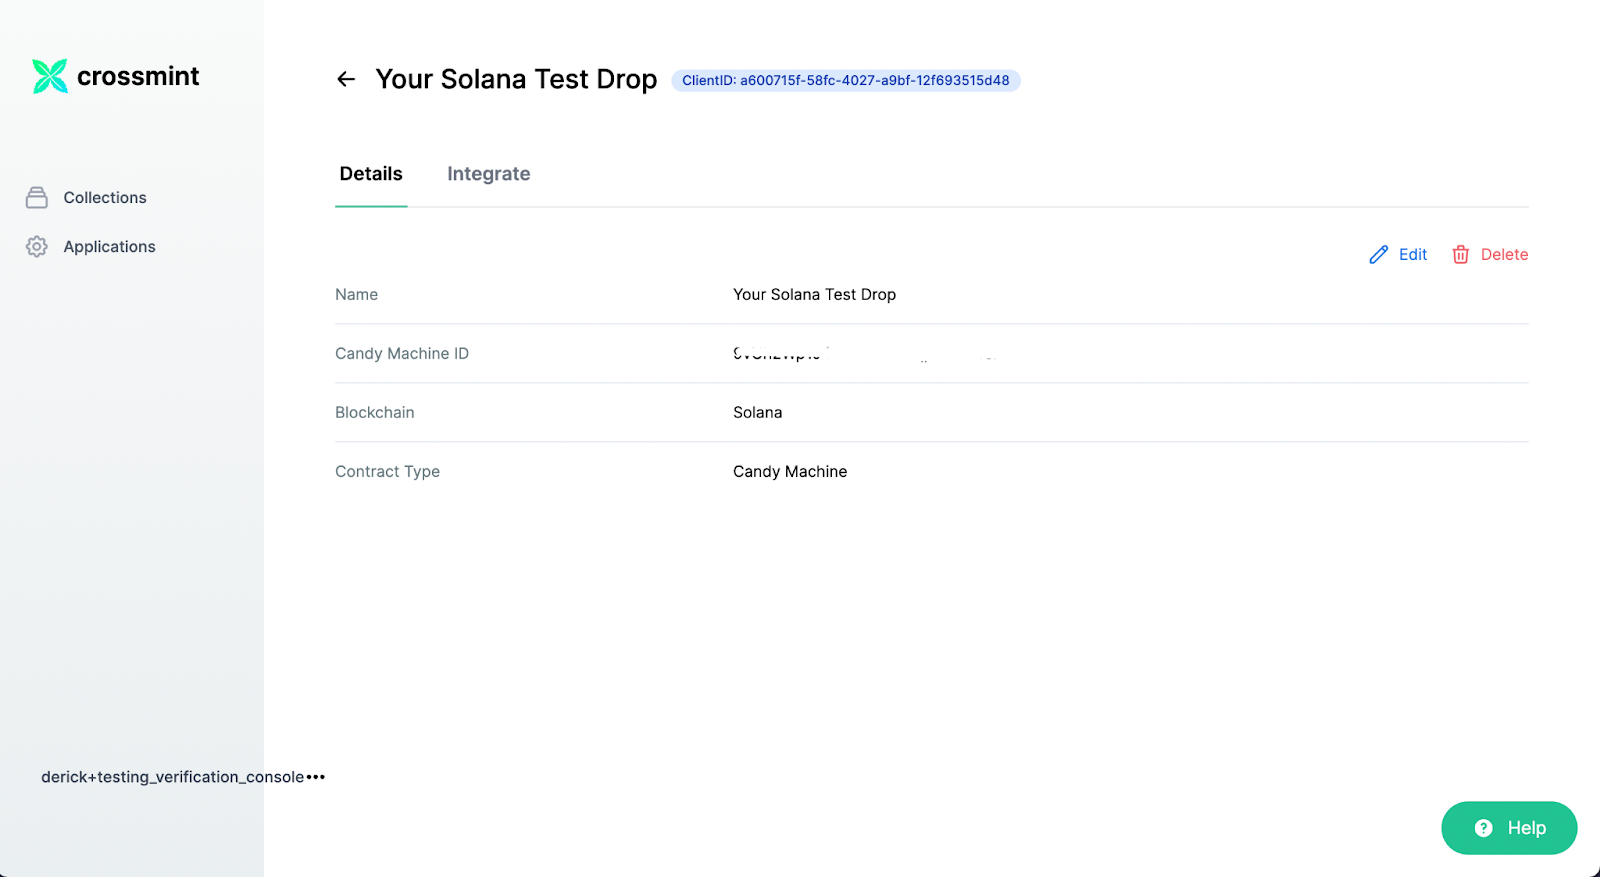
Click on the Integrate tab, and let’s move on to Step 2.
Step 2: Add the Crossmint Button to your Candy Machine app
The next step is to get the Crossmint button integrated into your website. We’ll go through an example using React.js, but we also have a Vanilla JS library available.
Go to the page in your app where you have the Connect button rendering. This page is usually Home.tsx or App.tsx. Import the Crossmint button at the top of this file with the following line:
yarn add @crossmint/client-sdk-react-uiNow go down to where your Connect button is, and add the Crossmint button with the following code:
<CrossmintPayButton
  collectionTitle="<COLLECTION_TITLE>"
  collectionDescription="<COLLECTION_DESCRIPTION>"
  collectionPhoto="<COLLECTION_IMAGE_URL>"
  collectionId="<YOUR_COLLECTION_ID>"
  projectId="<YOUR_PROJECT_ID>"
  mintConfig={{"type":"candy-machine"}}
  environment="staging"
/>
You can grab your specific snippet for this button in the Integrate section of the console. That’s it.
If you start your server and test it, you’ll see that the Crossmint with our Crossmint Pay product is enabled by default. The button will say Buy with credit card.
Let’s go to the next step and see how easy it is to enable cross-chain payments with Crossmint with a single line of code.
Step 3: Add a single attribute, and viola
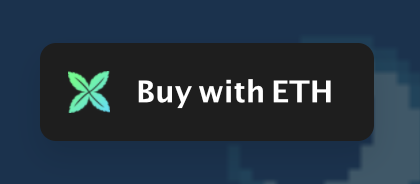
In your <CrossmintPayButton> component add a new attribute called paymentMethod and set it equal to ETH. Now your button should look something like the following along with your other attributes:
<CrossmintPayButton paymentMethod="ETH"/>You’ll see a new button that allows your users to pay with ETH using their Metamask wallet instead of with a credit card.
That’s it, and you’re done!
Going through the Pay with ETH flow
How will it look for your users when they click that Buy with ETH button? Let’s go through that flow together.
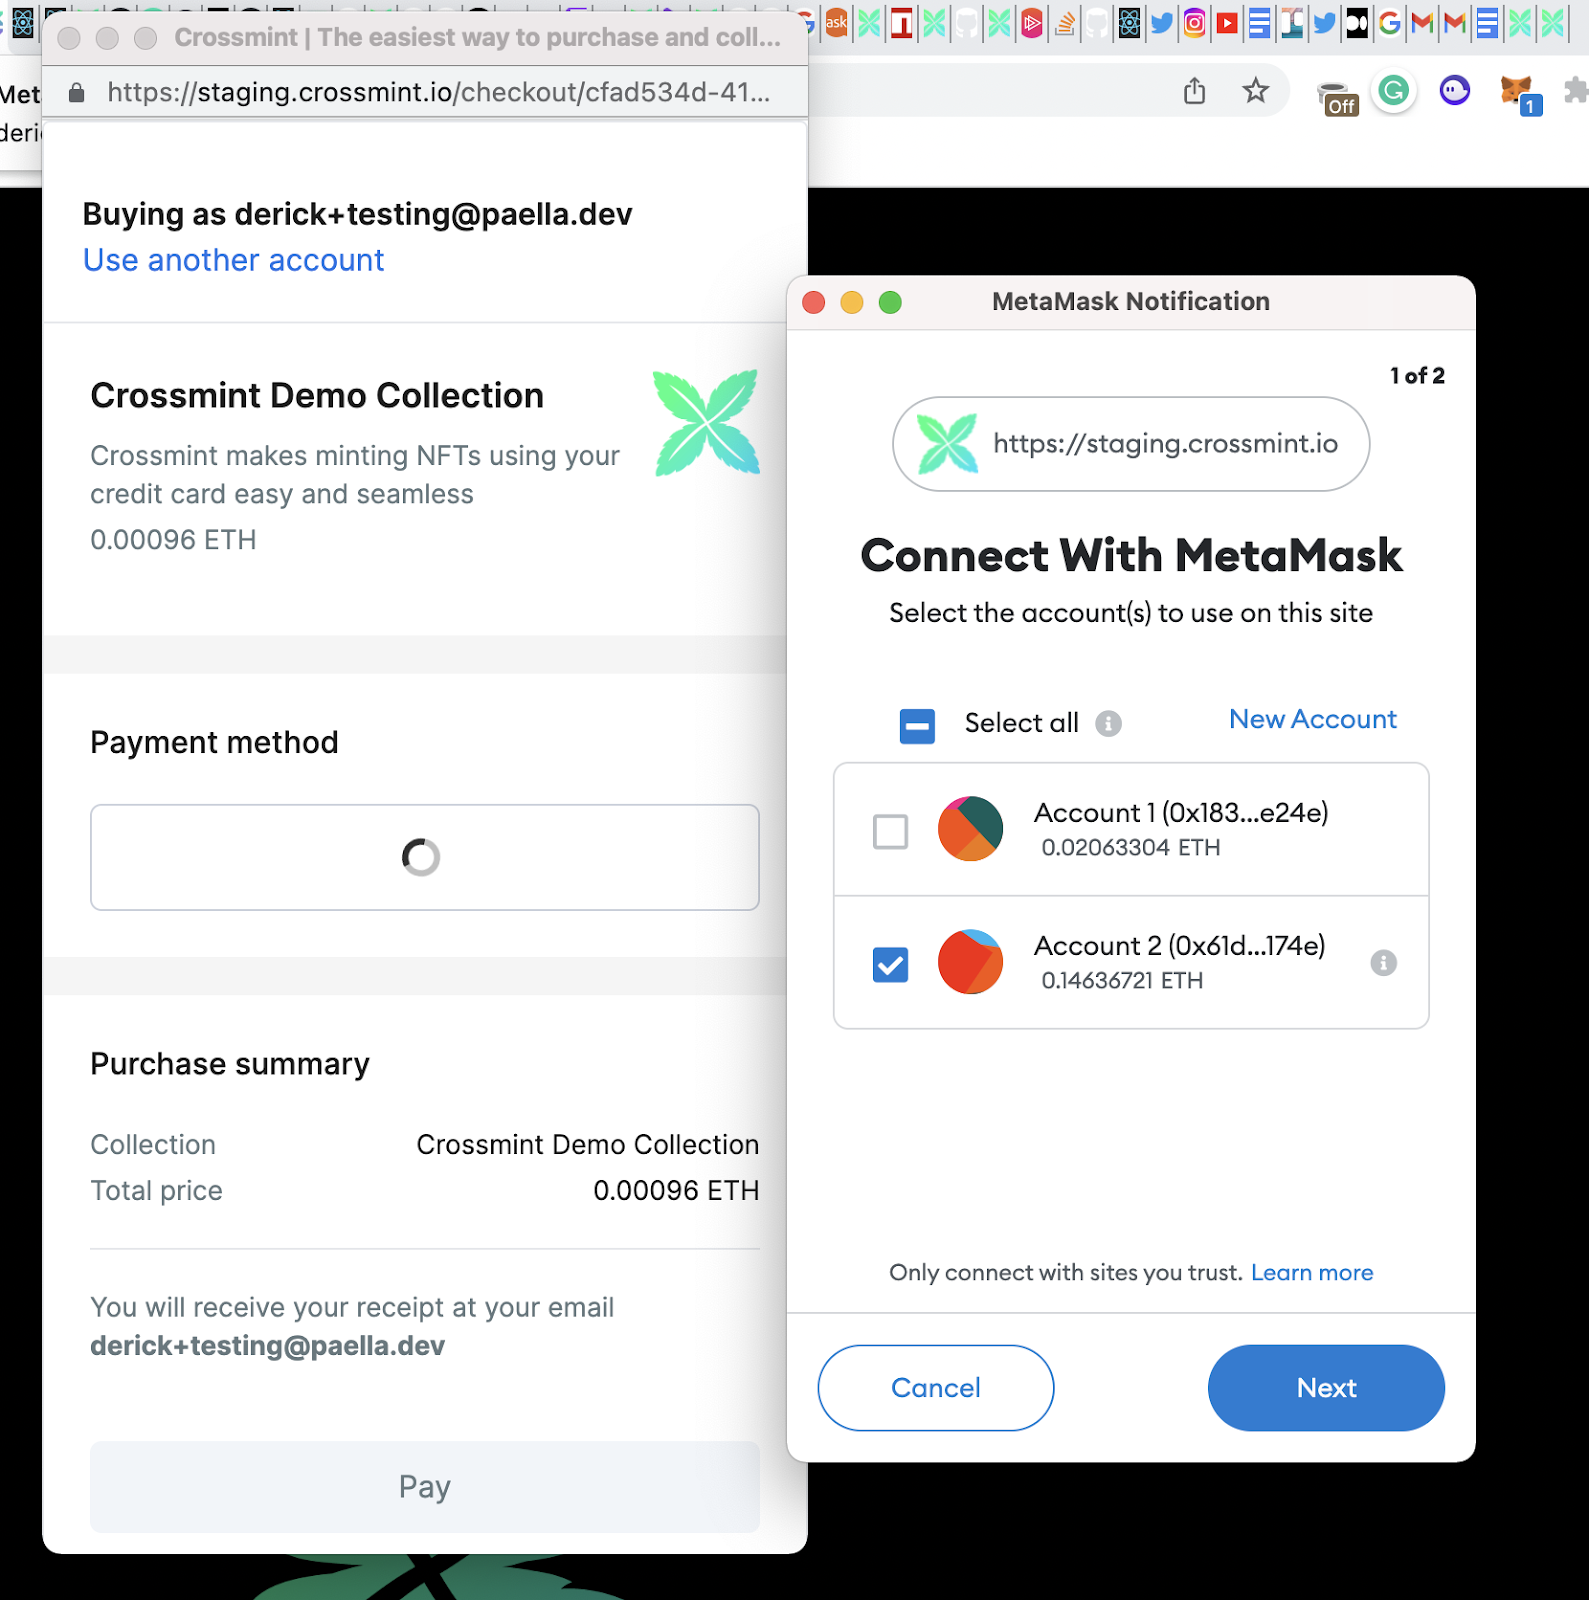
When a user first clicks that button, they’ll be presented with the following popup:
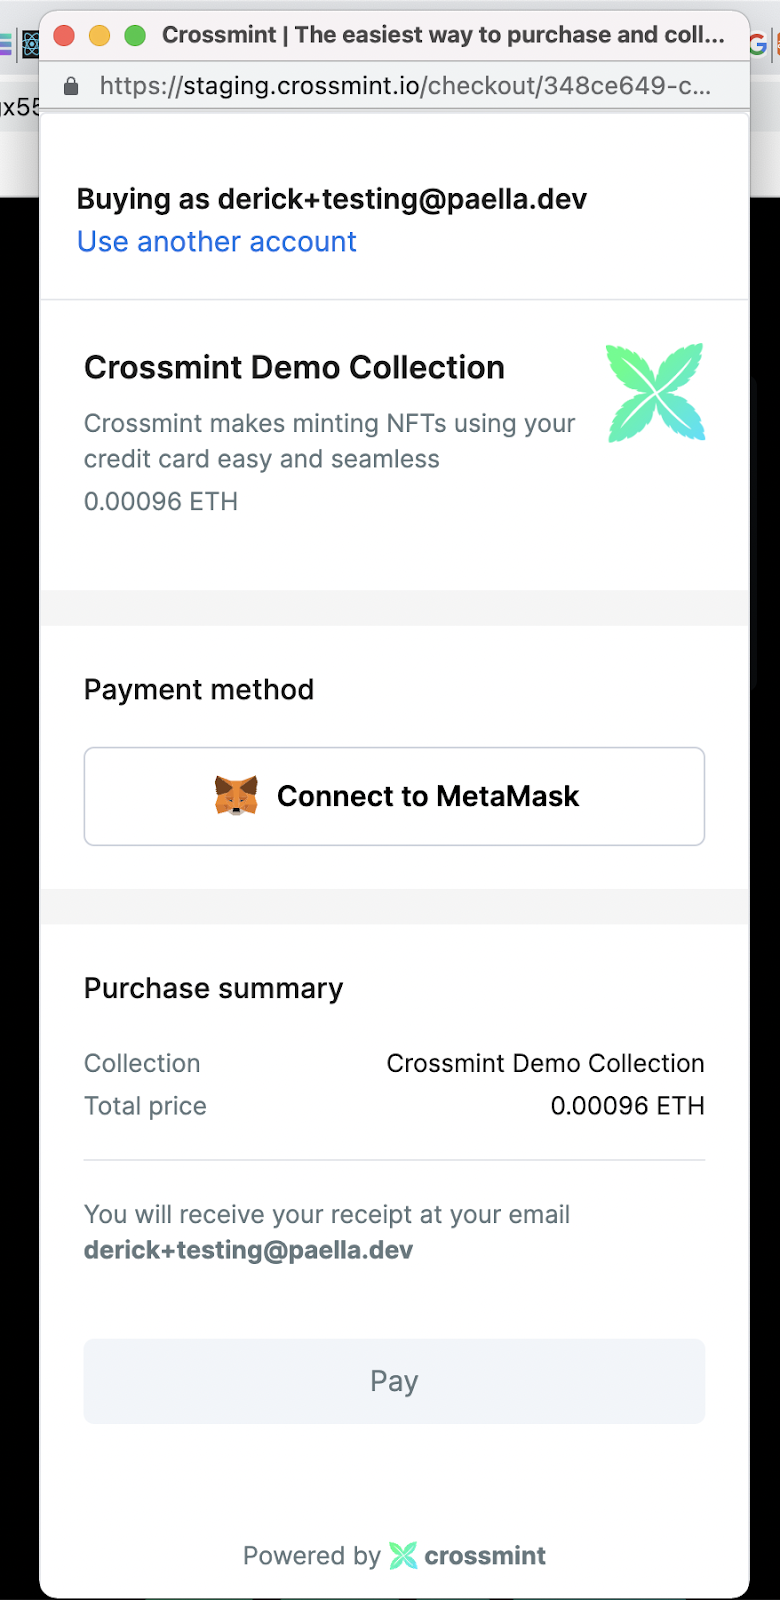
The user will see the price presented here in ETH converted from the original SOL price. Crossmint does the currency conversion automatically.
They can connect to MetaMask from this screen which will make another popup appear for them to confirm.
After connecting your Metamask wallet, the popup will ask the user to confirm their wallet again.
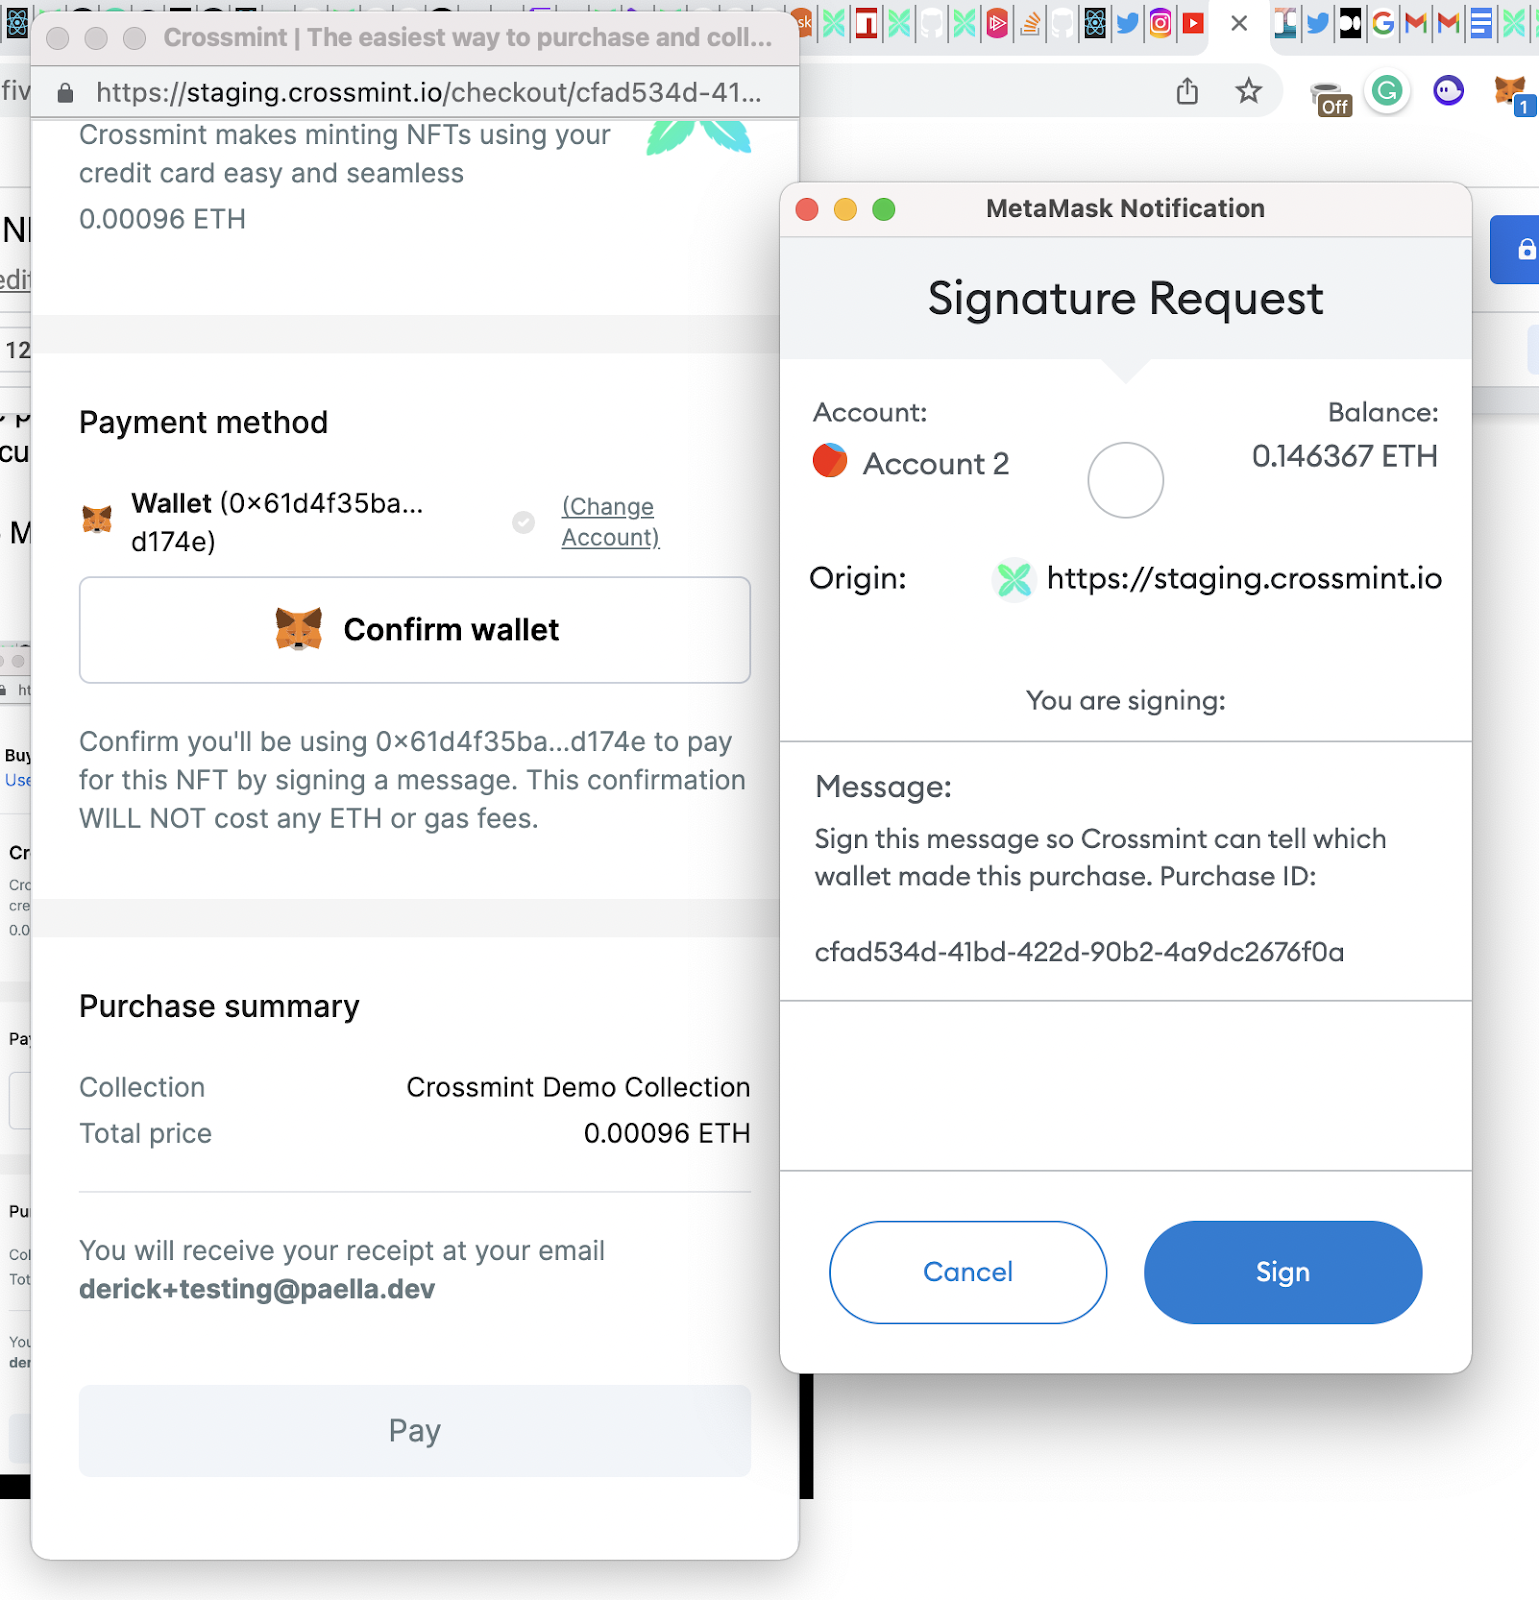
Once the user confirms, the Pay button will turn green, and they can purchase. Once they click that button, it will look like a standard transaction going through their Metamask wallet.
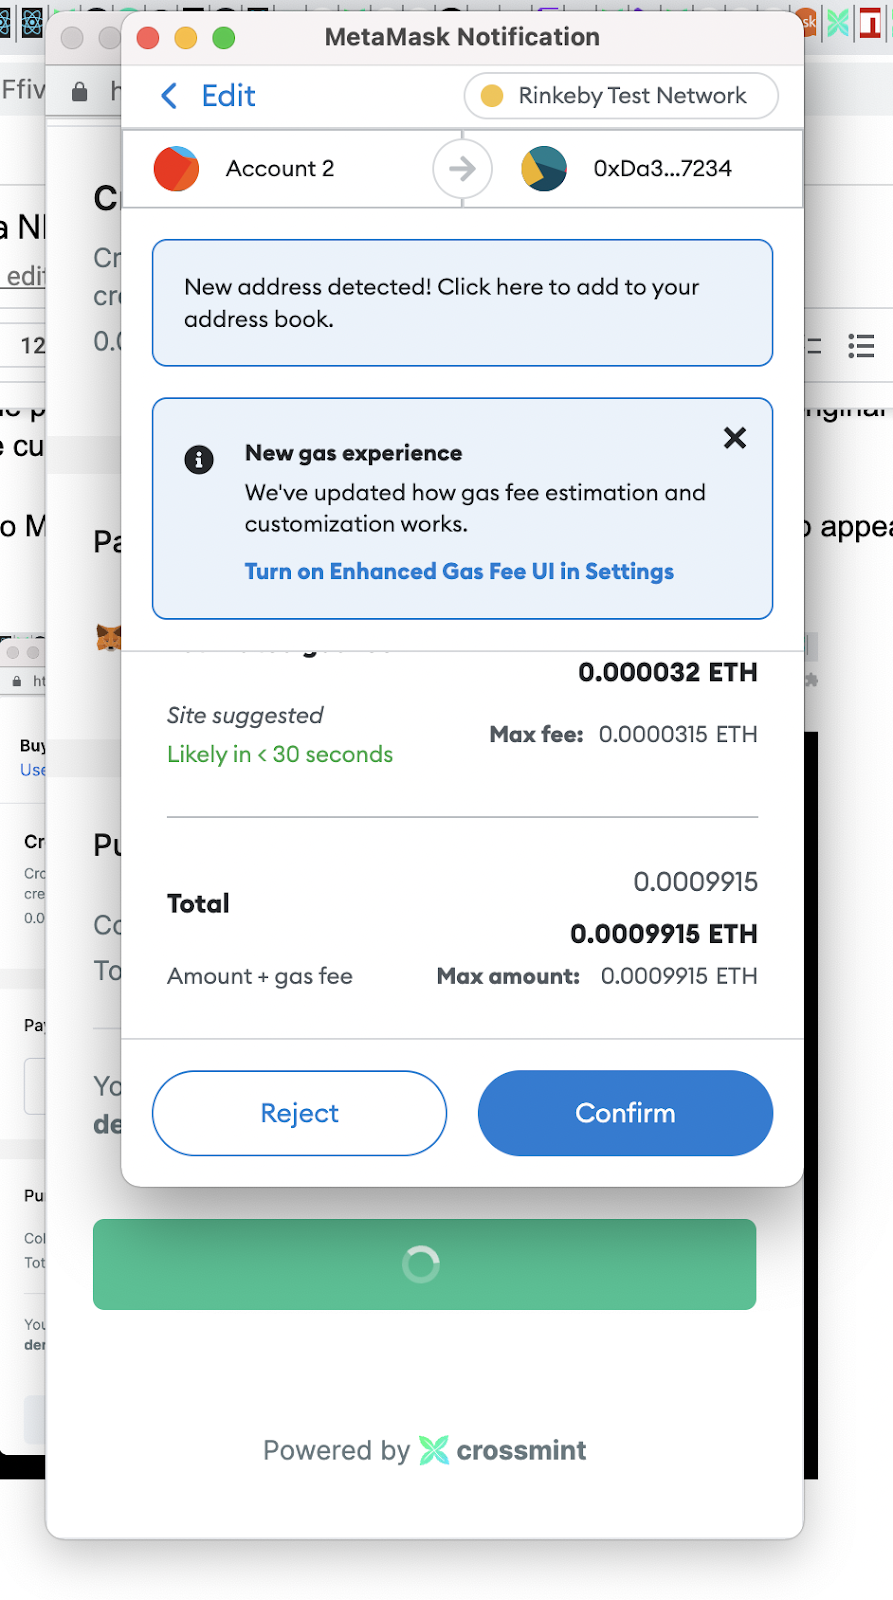
And finally, after confirming this time, if everything goes through correctly, the user will now be able to see their brand new NFT in their new custodial wallet, which Crossmint has generated for them.
Also, when they’re ready to export into a Phantom wallet, we make that seamless without fees. Also, we handle refunds if the NFT happens to be sold out during the transaction. Finally, you’ll get the price of the NFT directly in SOL into your account.
Conclusion
At Crossmint we believe in a multi-chain future where transactions among different chains are seamless and complexity is abstracted away from users.
One very crucial first step that we’ve enabled for you is multi-chain payments. If you are a creator or marketplace, you can add cross-chain payments to your mint in 5 minutes and completely for free.
In this article, we went through the steps of how it will look for a Solana NFT mint to accept ETH as payment, and the steps will look similar for other chains.


