


In this guide, you will add crypto payments to the embedded NFT checkout, enabling users to pay for NFTs with cryptocurrency. These payments work cross-chain: for example, users can pay for NFTs on any supported chain with ETH on mainnet or many popular L2s (Base, OP, Arbitrum One) or even SOL.
This walkthrough will focus on enabling cross-chain payments with Ethereum.
Let's Get Started
We'll use Next.js to build a simple web application that enables Crossmint's embedded NFT Checkout.
npx create-next-app@latest embedded-crosschain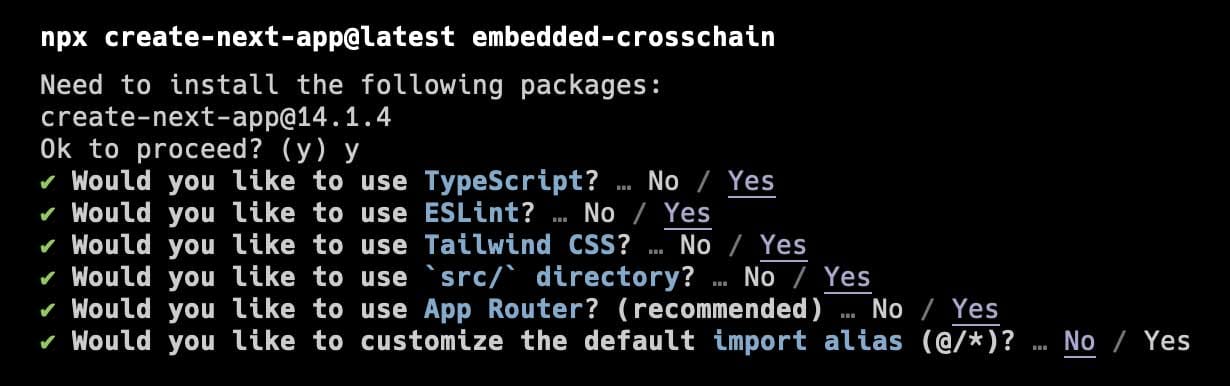
Change into the newly created embedded-crosschain directory, add dependencies, and open in your preferred editor.
cd embedded-crosschain
npm add @crossmint/client-sdk-react-ui @crossmint/common-sdk-base @rainbow-me/rainbowkit wagmi viem@2.x @tanstack/react-query
cursor .
Let's jump right in and make some edits to the src/app/page.tsx file. You can delete all the content in this page. Then add the "use client" directive at the top and the following imports:
"use client";

import React, { useState } from "react";
import { getDefaultConfig, RainbowKitProvider } from "@rainbow-me/rainbowkit";
import { QueryClientProvider, QueryClient } from "@tanstack/react-query";
import { WagmiProvider } from "wagmi";
import {
  arbitrumSepolia,
  baseSepolia,
  optimismSepolia,
  sepolia,
} from "wagmi/chains";
import "@rainbow-me/rainbowkit/styles.css";
Next we need to set up the default config for the wagmi library and create the queryClient used by RainbowKit. Add this right below your import statements:
const config = getDefaultConfig({
  appName: "Crossmint Crosschain Demo",
  projectId: "_YOUR_WALLET_CONNECT_PROJECT_ID_",
  chains: [arbitrumSepolia, baseSepolia, optimismSepolia, sepolia],
  ssr: true,
});

const queryClient = new QueryClient();
Note that you need to add your own WalletConnect projectId. You can get this from your WalletConnect dashboard.
Finally, add the rest of the code for the page.tsx file. You can see we add a few state variables and their corresponding setters at the beginning. These will be used in the next section. Then we add the providers required by RainbowKit so we can add a ConnectButton later, which will allow users to connect their wallet.
const Page: React.FC = () => {
  const [minting, setMinting] = useState(false);
  const [paymentMethod, setPaymentMethod] = useState<"ETH" | "fiat">("ETH");

  return (
    <WagmiProvider config={config}>
      <QueryClientProvider client={queryClient}>
        <RainbowKitProvider modalSize="compact">
          <div className="container mx-auto max-w-2xl bg-white rounded-lg">
            <div className="grid grid-cols-1 sm:grid-cols-2 sm:gap-8 p-8">
              <h2 className="text-black">This is our app</h2>
            </div>
          </div>
        </RainbowKitProvider>
      </QueryClientProvider>
    </WagmiProvider>
  );
};

export default Page;
Start up your local dev server and you'll see we have the foundation set up!
npm run dev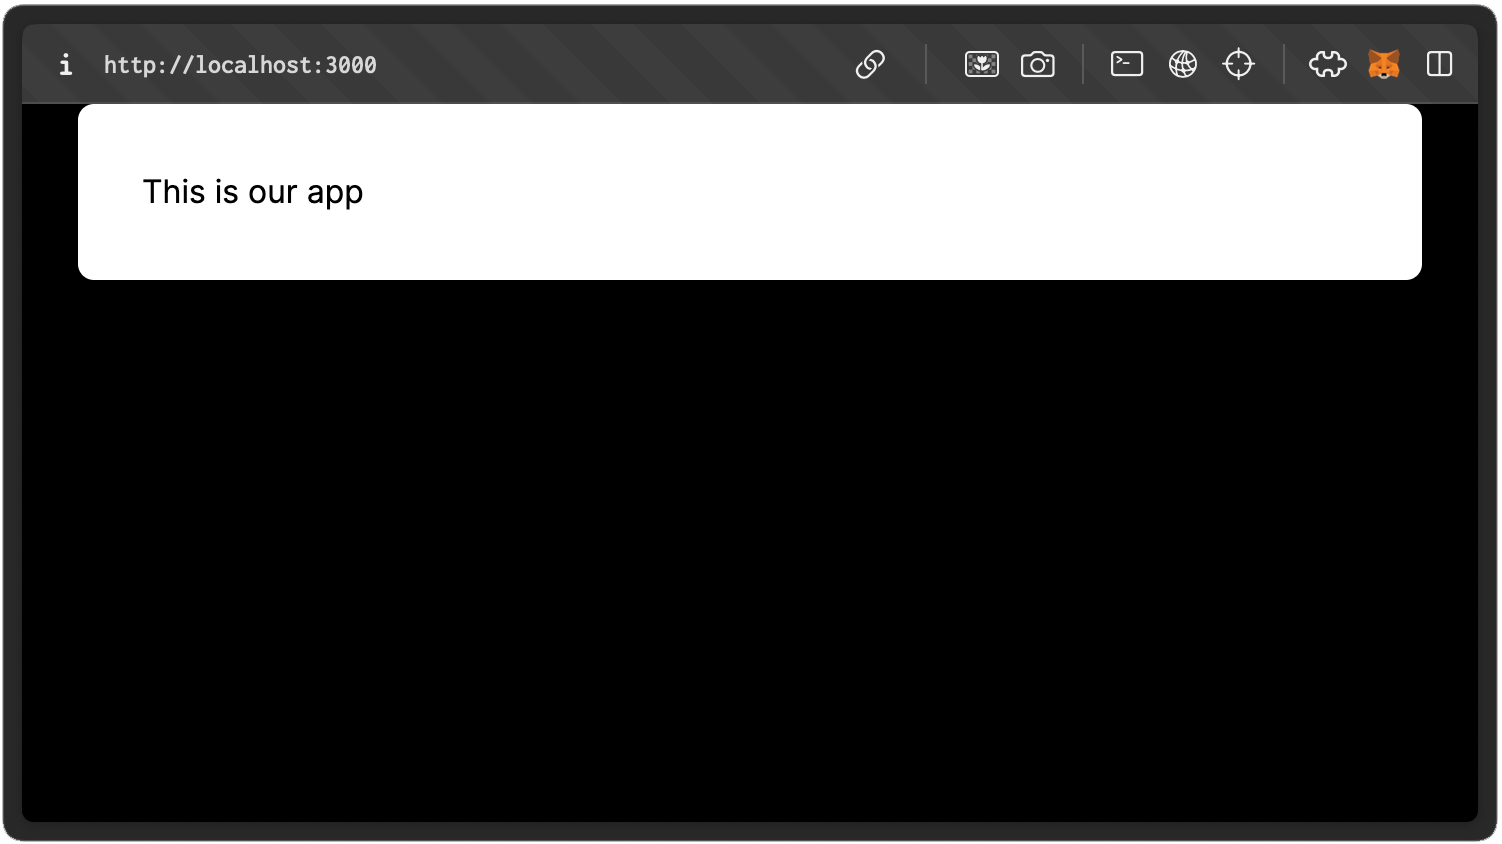
View the full source for the page.tsx at this step of the tutorial here: https://github.com/Crossmint/embedded-crosschain/blob/step-1-branch/src/app/page.tsx
Add Some Layout
Before digging into setting up the wallet connection and checkout components, let's add some basic structure to the app. You'll need to create three new files. Add a new folder to the src/app directory named components. Inside the new components directory, create these files:
- Navigation.tsx
- CollectionInfo.tsx
- Crossmint.tsx
Navigation Component
Here is the code you can add for Navigation.tsx. You can download the Crossmint logo here and add it to the public folder within your app or add your own logo.
// src/app/components/Navigation.tsx

import Image from "next/image";

const Navigation: React.FC = () => {
  return (
    <div className="sm:col-span-2 flex flex-col">
      <Image
        src="/crossmint-logo.svg"
        width={192}
        height={43}
        className="rounded-lg shrink"
        alt="Crossmint logo"
        priority={true}
      />
    </div>
  );
};

export default Navigation;
CollectionInfo Component
You can download the collection info image here and also save it to the public directory within your app.
// src/app/components/CollectionInfo.tsx

import Image from "next/image";

const CollectionInfo: React.FC = () => {
  return (
    <>
      <Image
        src="/collection-image.jpg"
        width={500}
        height={500}
        className="rounded-lg shrink"
        alt="nft collection image"
        priority={true}
      />
    </>
  );
};

export default CollectionInfo;
Crossmint Component
This component allows the user to switch between cross-chain crypto payment or credit card checkout options. We'll build this up a bit more, but this is a good starting point.
// src/app/components/Crossmint.tsx

interface CrossmintProps {
  minting: boolean;
  setMinting: Function;
  paymentMethod: string;
  setPaymentMethod: Function;
}

const Crossmint: React.FC<CrossmintProps> = ({
  minting,
  setMinting,
  paymentMethod,
  setPaymentMethod,
}) => {
  type PaymentMethod = "ETH" | "fiat";
  const getButtonClass = (method: PaymentMethod) => {
    let baseClass =
      "flex items-center justify-center bg-gray-100 px-5 py-2 shadow-sm hover:shadow-lg rounded cursor-pointer transition-shadow duration-200 border-solid border-2 text-black";
    if (method === paymentMethod) {
      baseClass += " border-indigo-500";
    }
    if (minting) {
      baseClass += " opacity-50 cursor-not-allowed";
    }
    return baseClass;
  };

  return (
    <>
      <div className="sm:col-span-1">
        <div className="grid grid-cols-2 gap-2 mb-4">
          <button
            onClick={() => setPaymentMethod("ETH")}
            className={getButtonClass("ETH")}
            disabled={minting}
          >
            ETH
          </button>
          <button
            onClick={() => setPaymentMethod("fiat")}
            className={getButtonClass("fiat")}
            disabled={minting}
          >
            Credit Card
          </button>
        </div>

        {paymentMethod === "ETH" ? (
          <h2 className="text-black">Crypto Checkout</h2>
        ) : paymentMethod === "fiat" ? (
          <h2 className="text-black">Fiat Checkout</h2>
        ) : null}
      </div>
    </>
  );
};

export default Crossmint;
Time to add these new components to the main page.tsx file. First you'll need to add the import statements:
import Navigation from "./components/Navigation";
import CollectionInfo from "./components/CollectionInfo";
import Crossmint from "./components/Crossmint";
Then, within the return statement of the page.tsx component, replace the <h2 className="text-black">This is our app</h2> with the following:
<Navigation />
<CollectionInfo />
<Crossmint
minting={minting}
setMinting={setMinting}
paymentMethod={paymentMethod}
setPaymentMethod={setPaymentMethod}
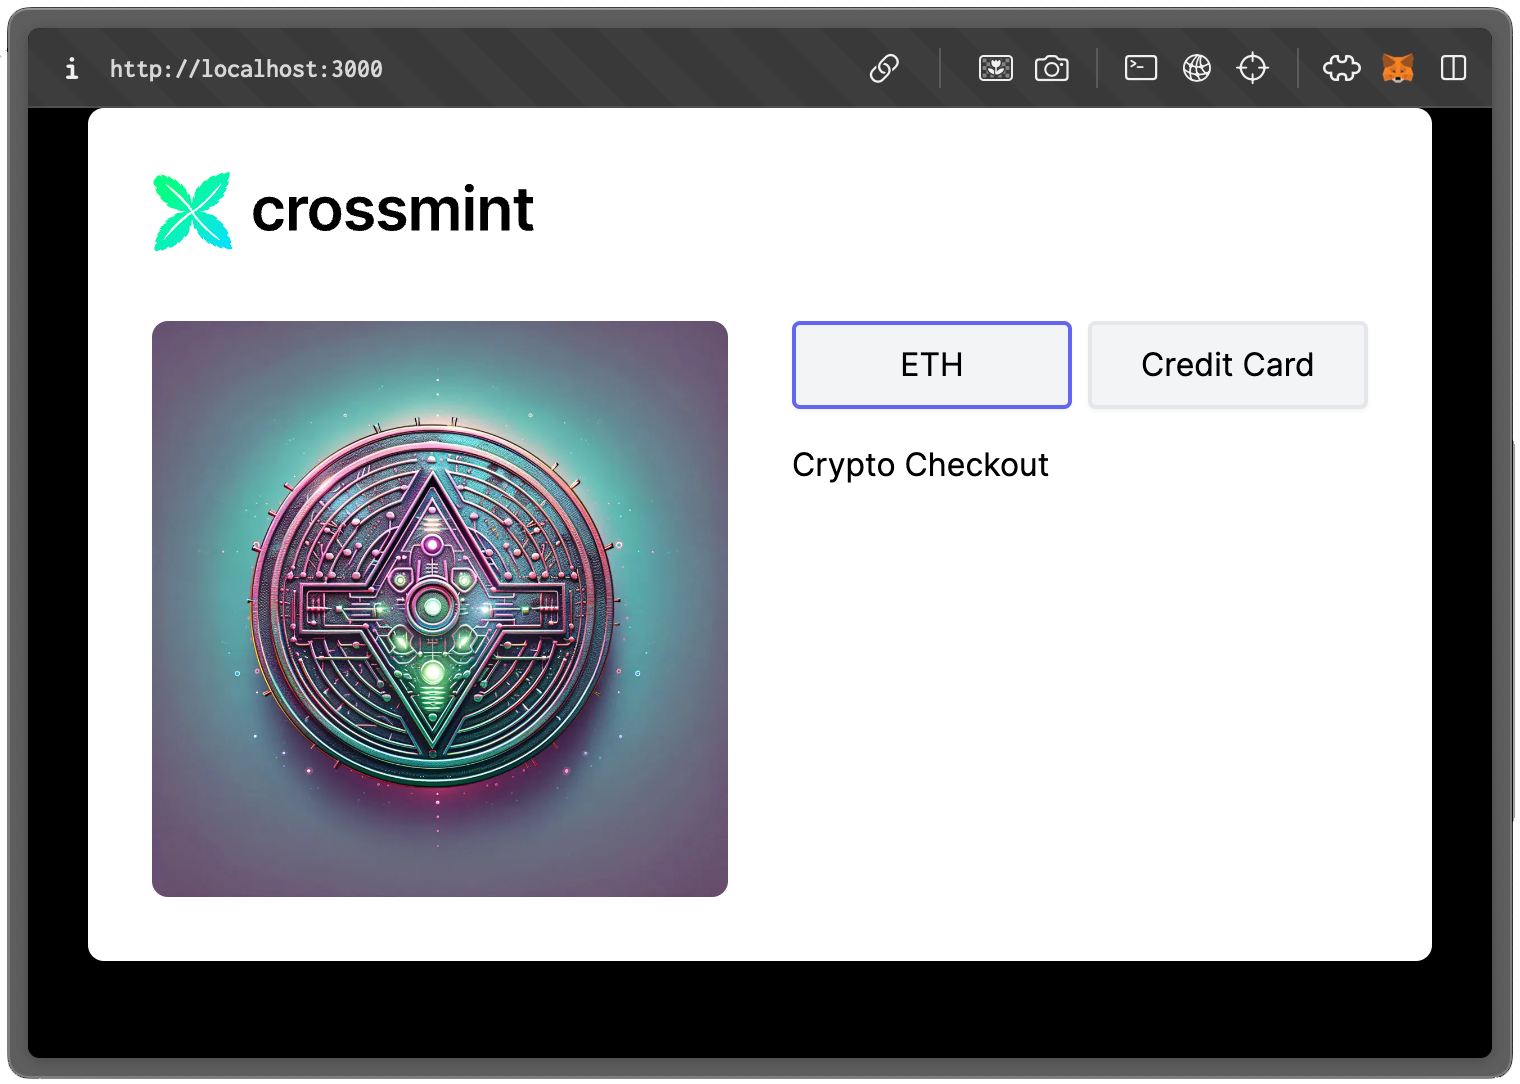
/>Quick Test of the App
Check back on the app in your browser. You should see a collection image on the left and two new buttons that enable switching between ETH and credit card payments. We'll add the actual Crossmint checkout components next.
View the full source at this step of the tutorial here: https://github.com/Crossmint/embedded-crosschain/tree/step-2-branch/src/app
Time to Add NFT Checkout
Now it's time to bring this app to life! Begin by adding three new files to the src/app/components directory named:
- CryptoCheckout.tsx
- FiatCheckout.tsx
- Minting.tsx.
CryptoCheckout.tsx
To begin add the "use client" directive, import statements, and interface for the component props.
"use client";

import {
  CrossmintPaymentElement,
  CrossmintEvent,
} from "@crossmint/client-sdk-react-ui";
import { EVMBlockchainIncludingTestnet as Blockchain } from "@crossmint/common-sdk-base";
import { ConnectButton } from "@rainbow-me/rainbowkit";
import {
  useAccount,
  useChainId,
  useSwitchChain,
  useSendTransaction,
} from "wagmi";

interface CryptoProps {
  paymentHandler: (event: CrossmintEvent) => any;
}
Next, add the component declaration, set some constants from env variables, use some hooks from wagmi, and define a mapping of Crossmint chain name to the chainId.
const CryptoCheckout: React.FC<CryptoProps> = ({ paymentHandler }) => {
  const projectId = process.env.NEXT_PUBLIC_PROJECT_ID as string;
  const collectionId = process.env.NEXT_PUBLIC_COLLECTION_ID as string;
  const environment = process.env.NEXT_PUBLIC_ENVIRONMENT as string;

  const account = useAccount();
  const chainId = useChainId();
  const { switchChain } = useSwitchChain();
  const { sendTransactionAsync } = useSendTransaction();

  const chainIdMap = {
    "arbitrum-sepolia": 421614,
    "base-sepolia": 84532,
    "ethereum-sepolia": 11155111,
    "optimism-sepolia": 11155420,
  };
The following section completes the CryptoCheckout.tsx component file. The below code adds a connect button from RainbowKit that allows the user to connect their wallet for paying with their ETH via the Crossmint component.
Before the CrossmintPayElement, you'll notice some loading divs. These display a loading animation to the user when they switch between the Crypto and Fiat payment components. Finally, you see how to configure the CrossmintPayElement for cross-chain crypto payments.
  return (
    <>
      <div className="connect-wrapper my-3">
        <ConnectButton
          showBalance={false}
          chainStatus="none"
          accountStatus="full"
        />
      </div>
      {account.address ? (
        <div className="loading-bg">
          <div className="loading-message">Loading Checkout...</div>
          <div className="loading-spinner" />
          <div className="payment-wrapper">
            <CrossmintPaymentElement
              projectId={projectId}
              collectionId={collectionId}
              environment={environment}
              recipient={{
                wallet: account.address,
              }}
              paymentMethod="ETH"
              signer={{
                address: account?.address || "",
                signAndSendTransaction: async (transaction) => {
                  const result = await sendTransactionAsync({
                    to: transaction.to as `0x${string}`,
                    value: BigInt(transaction.value.toString()),
                    data: transaction.data as `0x${string}`,
                    chainId: transaction.chainId,
                  });

                  return result;
                },
                handleChainSwitch: async (chain) => {
                  switchChain({
                    chainId: chainIdMap[chain as keyof typeof chainIdMap],
                  });
                },
                supportedChains: [
                  "arbitrum-sepolia",
                  "base-sepolia",
                  "ethereum-sepolia",
                  "optimism-sepolia",
                ],
                chain: Object.keys(chainIdMap).find(
                  (key) =>
                    chainIdMap[key as keyof typeof chainIdMap] === chainId
                ) as Blockchain | undefined,
              }}
              mintConfig={{
                totalPrice: "0.0001",
              }}
              onEvent={paymentHandler}
            />
          </div>
        </div>
      ) : null}
    </>
  );
};

export default CryptoCheckout;
For more in depth information on the details that enable cross-chain crypto within Crossmint's embedded NFT checkout, refer to the documentation page: https://docs.crossmint.com/nft-checkout/embedded/pay-with-crypto
With the CryptoCheckout.tsx component complete, let's move on to the FiatCheckout.tsx file.
FiatCheckout.tsx
The structure of this component is very similar to the CryptoCheckout.tsx, but a fair bit more simple. Here is the entire file contents:
"use client";

import {
  CrossmintPaymentElement,
  CrossmintEvent,
} from "@crossmint/client-sdk-react-ui";

interface FiatProps {
  paymentHandler: (event: CrossmintEvent) => any;
}

const FiatCheckout: React.FC<FiatProps> = ({ paymentHandler }) => {
  const projectId = process.env.NEXT_PUBLIC_PROJECT_ID as string;
  const collectionId = process.env.NEXT_PUBLIC_COLLECTION_ID as string;
  const environment = process.env.NEXT_PUBLIC_ENVIRONMENT as string;

  return (
    <div className="loading-bg">
      <div className="loading-message">Loading Checkout...</div>
      <div className="loading-spinner" />
      <div className="payment-wrapper">
        <CrossmintPaymentElement
          projectId={projectId}
          collectionId={collectionId}
          environment={environment}
          emailInputOptions={{
            show: true,
          }}
          paymentMethod="fiat"
          mintConfig={{
            totalPrice: "0.0001",
          }}
          uiConfig={{
            colors: {
              textLink: "green",
            },
          }}
          onEvent={paymentHandler}
        />
      </div>
    </div>
  );
};

export default FiatCheckout;
Minting.tsx
The minting component will replace the two Crossmint checkout components as soon as the payment is completed. This component automatically polls Crossmint to check for minting completion and once detected will once again update the UI to provide a link to the transaction on BASE Scan. You'll need to download this sphere.gif file (or add your own loader) and save it to the public directory of this app.
import React from "react";
import Image from "next/image";
import { useCrossmintEvents } from "@crossmint/client-sdk-react-ui";

interface MintingProps {
  orderIdentifier: string;
}

const Minting: React.FC<MintingProps> = ({ orderIdentifier }) => {
  const [status, setStatus] = React.useState<string>("pending");
  const [result, setResult] = React.useState<any>(null);
  const environment = process.env.NEXT_PUBLIC_ENVIRONMENT as string;
  const { listenToMintingEvents } = useCrossmintEvents({
    environment: environment,
  });

  if (orderIdentifier && status === "pending") {
    listenToMintingEvents({ orderIdentifier }, (event) => {
      switch (event.type) {
        case "transaction:fulfillment.succeeded":
          setStatus("success");
          setResult(event.payload);
          break;
        case "transaction:fulfillment.failed":
          setStatus("failure");
          break;
        default:
          break;
      }
      console.log(event.type, ":", event);
    });
  }

  return (
    <>
      <div className="text-black font-mono p-5 text-center">
        {status === "pending" && (
          <>
            <h3>Minting your NFT...</h3>
            <Image
              src="/sphere.gif"
              width={256}
              height={256}
              className="shrink mx-auto mt-10"
              alt="processing animation"
            />
            This will take about a minute.
          </>
        )}
        {status === "success" && (
          <>
            <h3>NFT Minted Successfully!</h3>
            <div className="mt-10">
              <a
                target="_blank"
                className={`block rounded-lg mt-3 p-3 text-white my-4 bg-[#1554f0]`}
                href={`https://sepolia.basescan.org/tx/${result?.txId}`}
              >
                View on BASE Scan
              </a>
              <a
                className="block bg-[#98ff98] rounded-lg mt-3 p-3 text-black"
                href="/"
              >
                Reset and Start Over
              </a>
            </div>
          </>
        )}
        {status === "failure" && (
          <>
            <h3>Failed to Mint NFT</h3>
            <p>
              Something went wrong. You will be refunded if the mint cannot be
              fulfilled successfully.
            </p>
          </>
        )}
      </div>
    </>
  );
};

export default Minting;
With these three new components completed it's time to add them into the Crossmint.tsx file and wire everything up! First, let's get the environment file setup. Create a new file named .env.local in the root of the application and add the following to it:
NEXT_PUBLIC_PROJECT_ID="a208284d-5560-4952-9dcb-79f31627ea11"
NEXT_PUBLIC_COLLECTION_ID="fd72040b-765b-4035-b510-48b0c2aba4d6"
NEXT_PUBLIC_ENVIRONMENT="staging"
NEXT_PUBLIC_WALLET_CONNECT_ID="_YOUR_WALLET_CONNECT_PROJECT_ID_"
Now, let's make the changes to the Crossmint.tsx file to incorporate the latest work. First add these imports to the top of the file:
import { useState } from "react";
import CryptoCheckout from "./CryptoCheckout";
import FiatCheckout from "./FiatCheckout";
import Minting from "./Minting";
After the component declaration, add an orderIdentifier state variable and setter for it. Right after that comes the paymentEventHandler that is passed into both the CryptoCheckout and FiatCheckout components.
  const [orderIdentifier, setOrderIdentifier] = useState("");

  const handlePaymentEvent = (event: any) => {
    switch (event.type) {
      case "crypto-payment:user-accepted":
        // If you want to add a message about crypto payment being
        // confirmed, this is the place to do it.
        console.log("crypto-payment:user-accepted", event);
        break;

      case "payment:process.started":
        console.log("payment:process.started", event);
        setMinting(true);
        break;

      case "payment:process.succeeded":
        console.log(event);
        setOrderIdentifier(event.payload.orderIdentifier);
        break;
      default:
        console.log(event);
        break;
    }
  };
Lastly, for this component, we need to update the conditional rendering block to include testing for if the orderIdentifier is set. This is the section that previously began with: paymentMethod === "ETH" Now, that chunk will be replaced with:
        {!orderIdentifier ? (
          paymentMethod === "ETH" ? (
            <CryptoCheckout paymentHandler={handlePaymentEvent} />
          ) : paymentMethod === "fiat" ? (
            <FiatCheckout paymentHandler={handlePaymentEvent} />
          ) : null
        ) : (
          <Minting orderIdentifier={orderIdentifier} />
        )}
It can be tough to follow all the changes when broken up into sections like this. You can view all the updates to the Crossmint.tsx file here: https://github.com/Crossmint/embedded-crosschain/blob/step-3-branch/src/app/page.tsx
There is one last change to tie it all together. Open the globals.css file in the src/app directory and replace the entire contents with the following:
@tailwind base;
@tailwind components;
@tailwind utilities;

:root {
  --foreground-rgb: 0, 0, 0;
  --background-start-rgb: 0, 155, 133;
  --background-end-rgb: 0, 225, 250;
}

body {
  color: rgb(var(--foreground-rgb));
  background: linear-gradient(
      to bottom,
      transparent,
      rgb(var(--background-end-rgb))
    )
    rgb(var(--background-start-rgb));
  background-size: 100% 100%;
  background-repeat: no-repeat;
  height: 100vh;
  margin: 0 auto;
  box-sizing: border-box;
  padding: 25px 0;
}

@keyframes spin {
  0% {
    transform: rotate(0deg);
  }
  100% {
    transform: rotate(360deg);
  }
}

.loading-spinner {
  border: 3px solid #f3f3f3;
  border-top: 3px solid #3498db;
  border-radius: 50%;
  width: 64px;
  height: 64px;
  animation: spin 2s linear infinite;
  position: absolute;
  top: 41%;
  left: 41%;
  transform: translate(-50%, -50%);
  z-index: 1;
}
.loading-message {
  position: absolute;
  top: 25%;
  text-align: center;
  width: 100%;
  color: #999;
}
.loading-bg {
  position: relative;
  overflow: hidden;
  min-height: 250px;
}
.payment-wrapper {
  position: relative;
  z-index: 2;
  background: #fff;
}
.payment-wrapper > iframe {
  width: 100%;
}
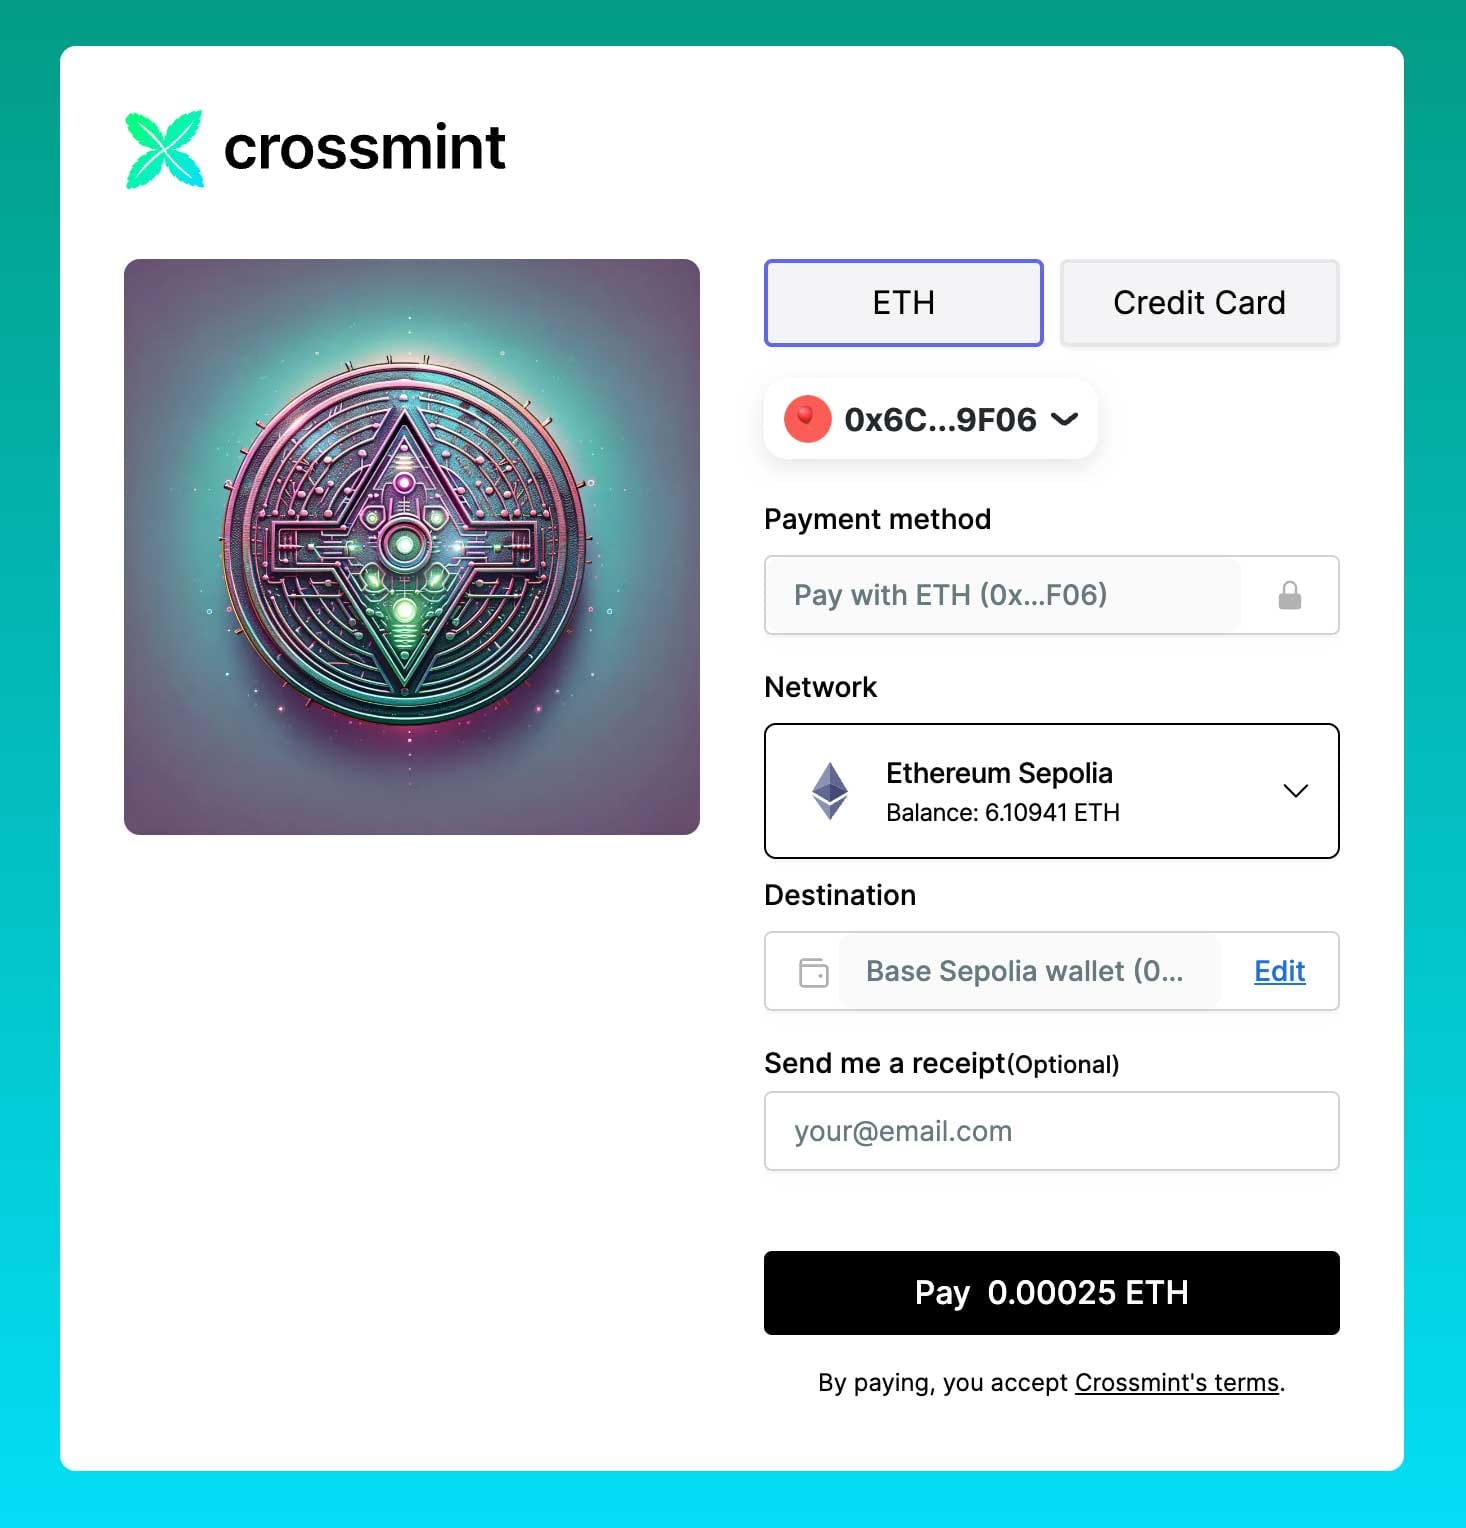
Now check the app in your browser and you should have a fully functioning cross-chain and fiat NFT checkout demo using Crossmint's embedded checkout SDK!
https://github.com/Crossmint/embedded-crosschain
https://docs.crossmint.com/nft-checkout/introduction


